Sometimes you just need some Indian food. Not just “it’d be really nice if I could find some”, but “holy cow I need curry in a hurry” kinda needs. In Austin, there’s even a place called Curry in Hurry just for those needs. And yes, you read that name correctly. Still, they have some great samosas.
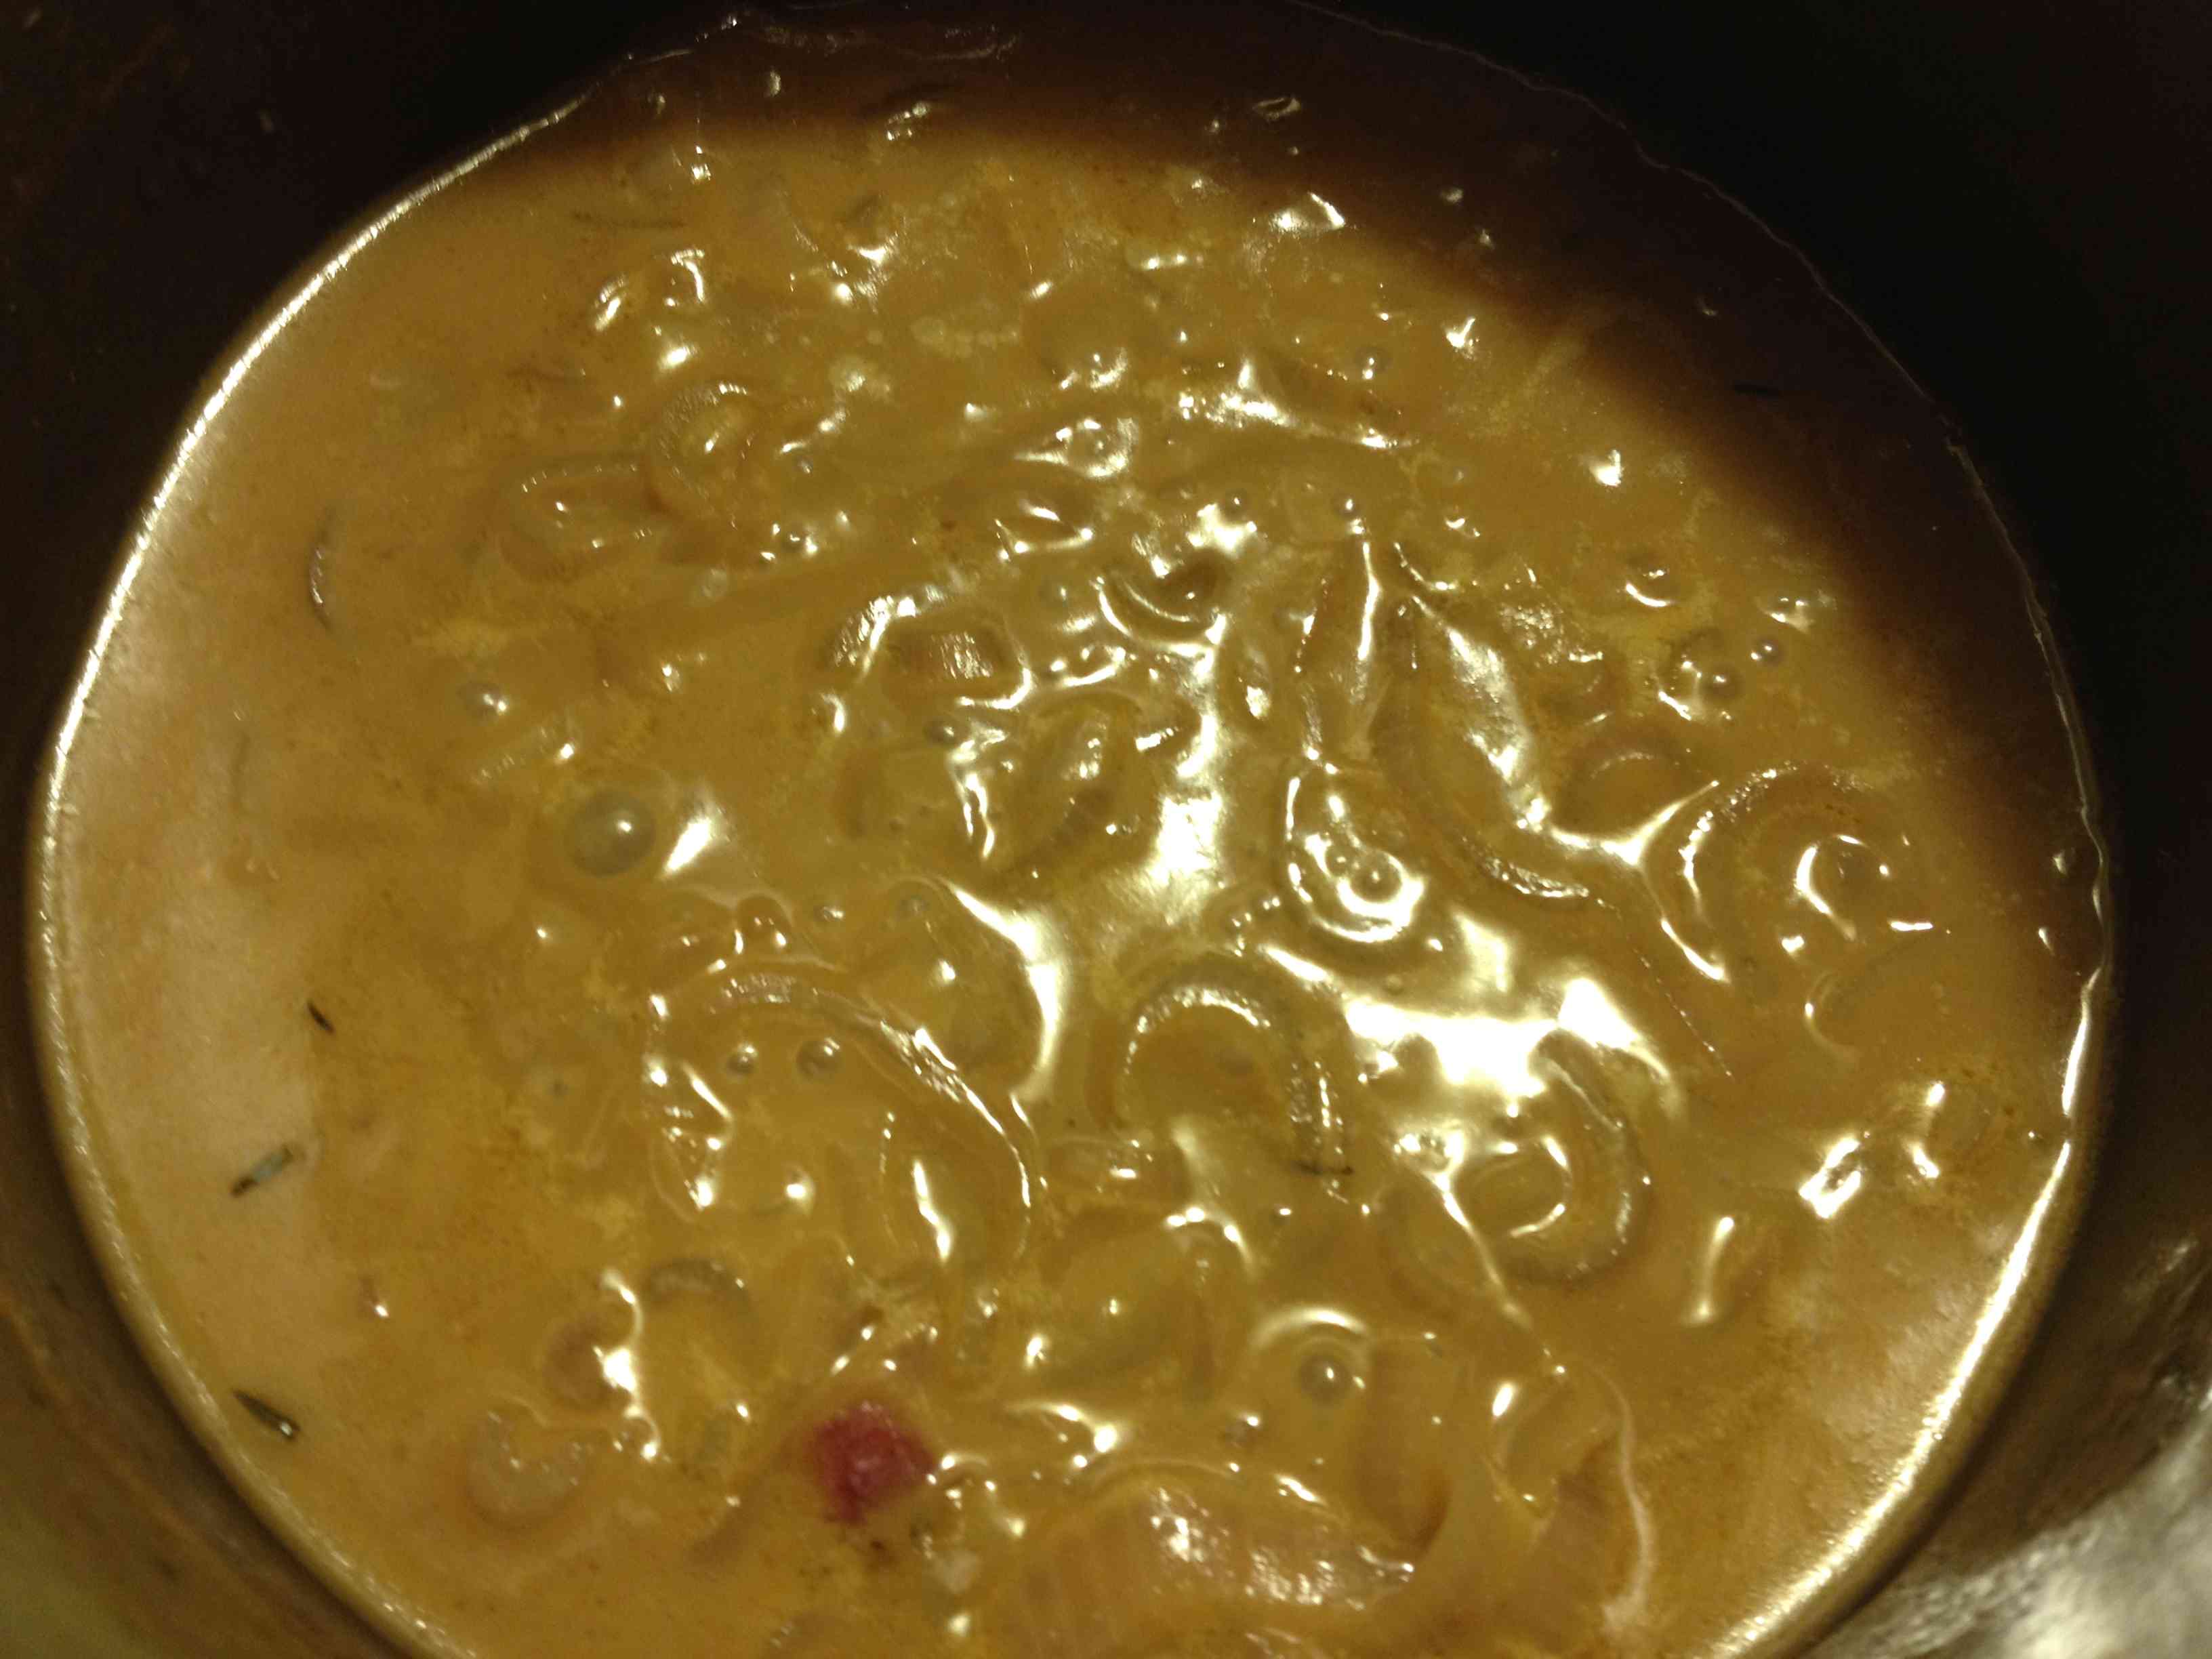
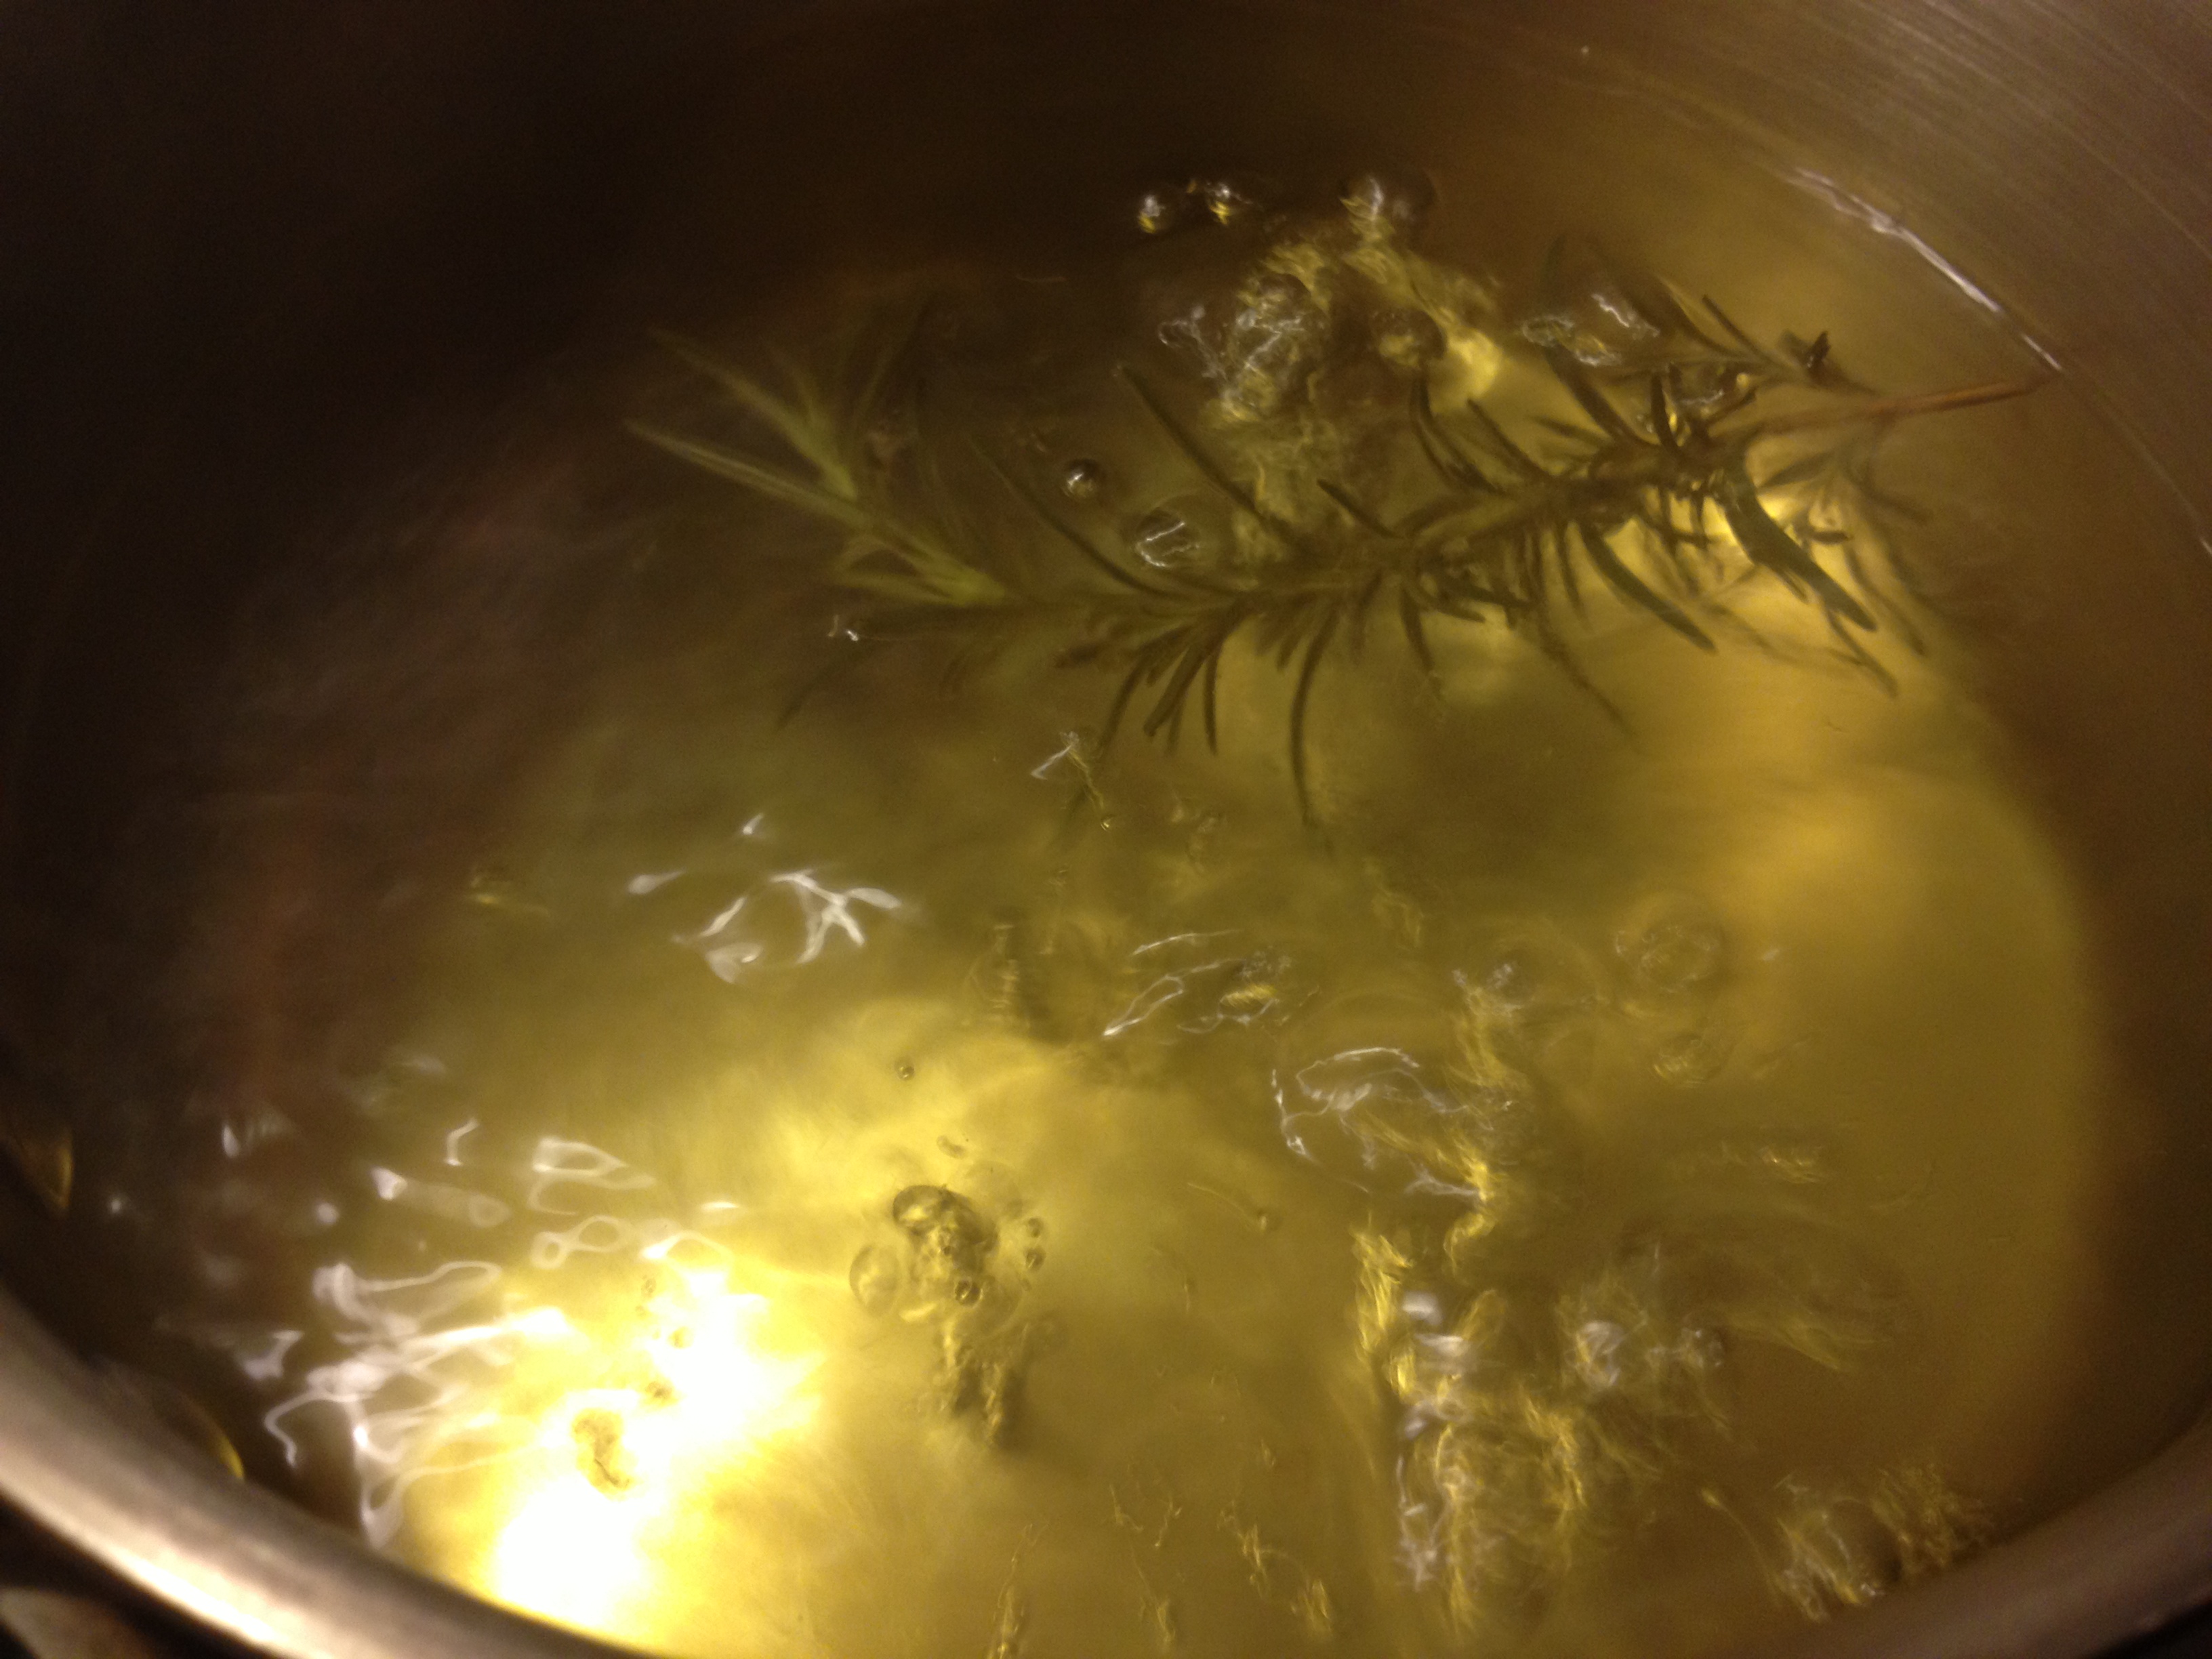
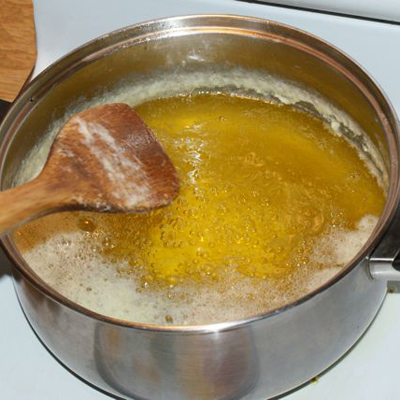
Vegetarian Indian food is quite common these days, as many Indian folks follow vegetarian diets. However, the stretch from vegetarian to vegan can seem a wide gulf with a cuisine who’s flavor in greatly increased by cream and clarified butter. Seriously, you don’t want to know how much ghee is in most of those dishes.

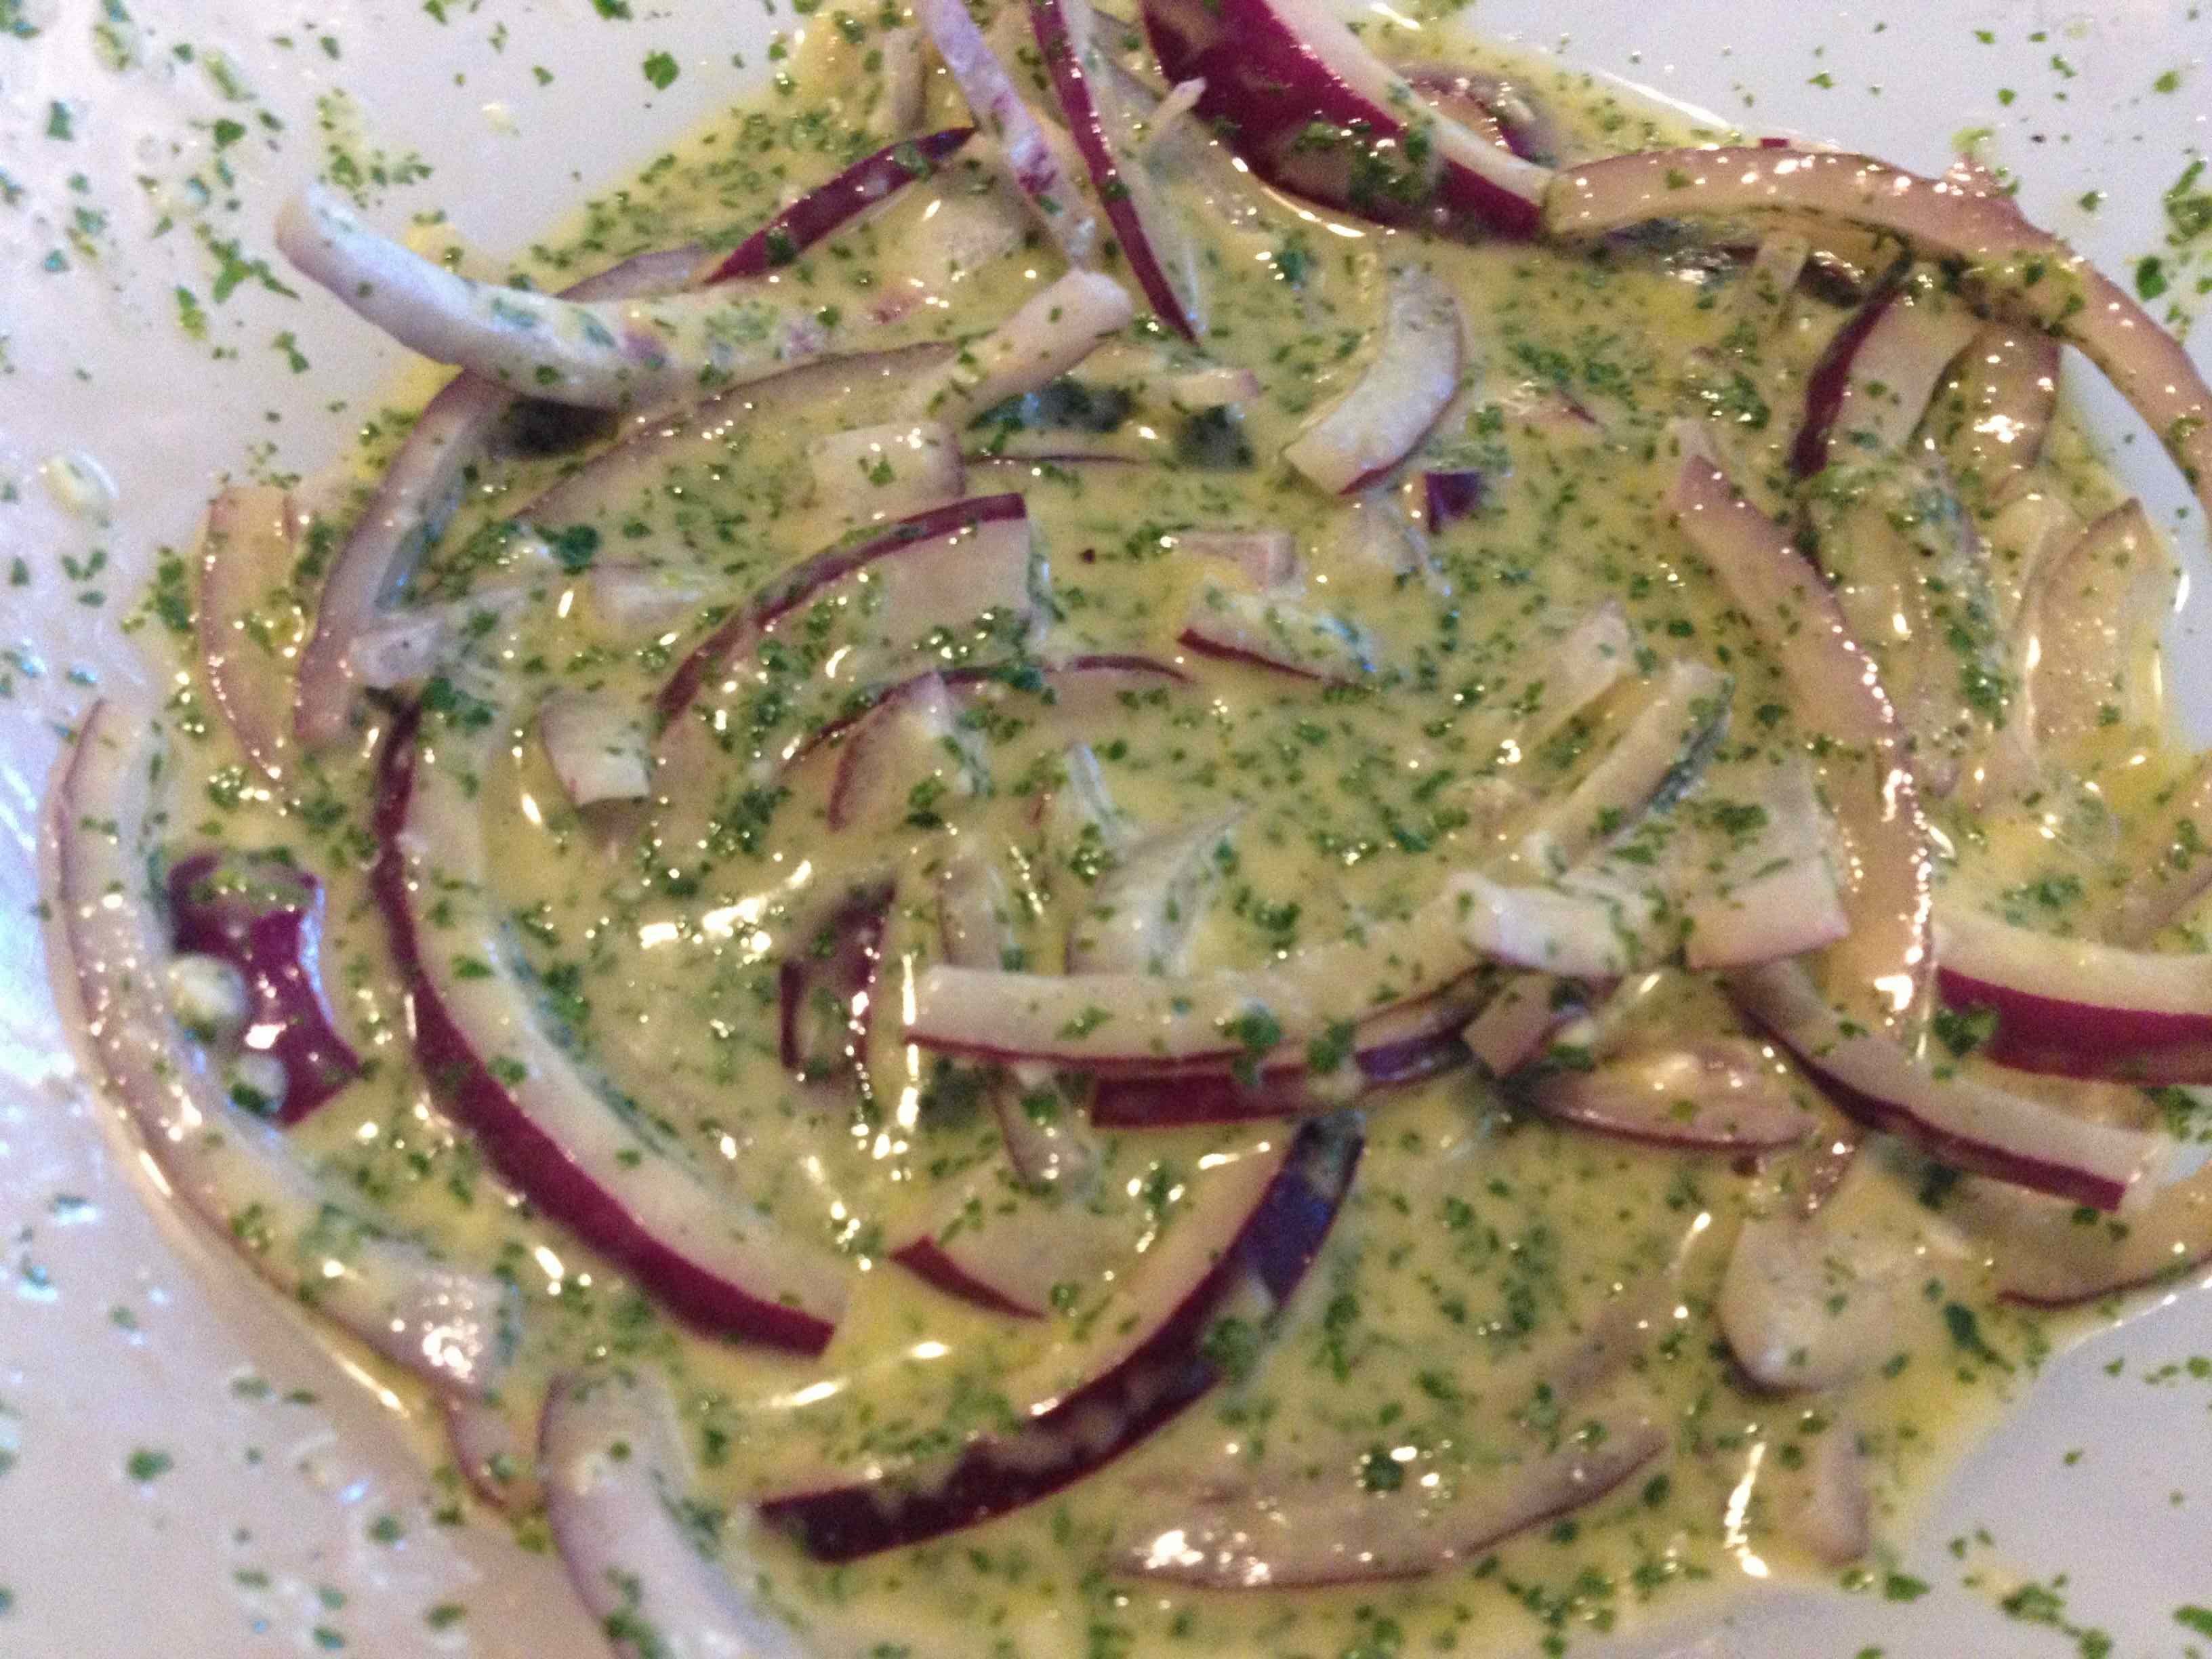
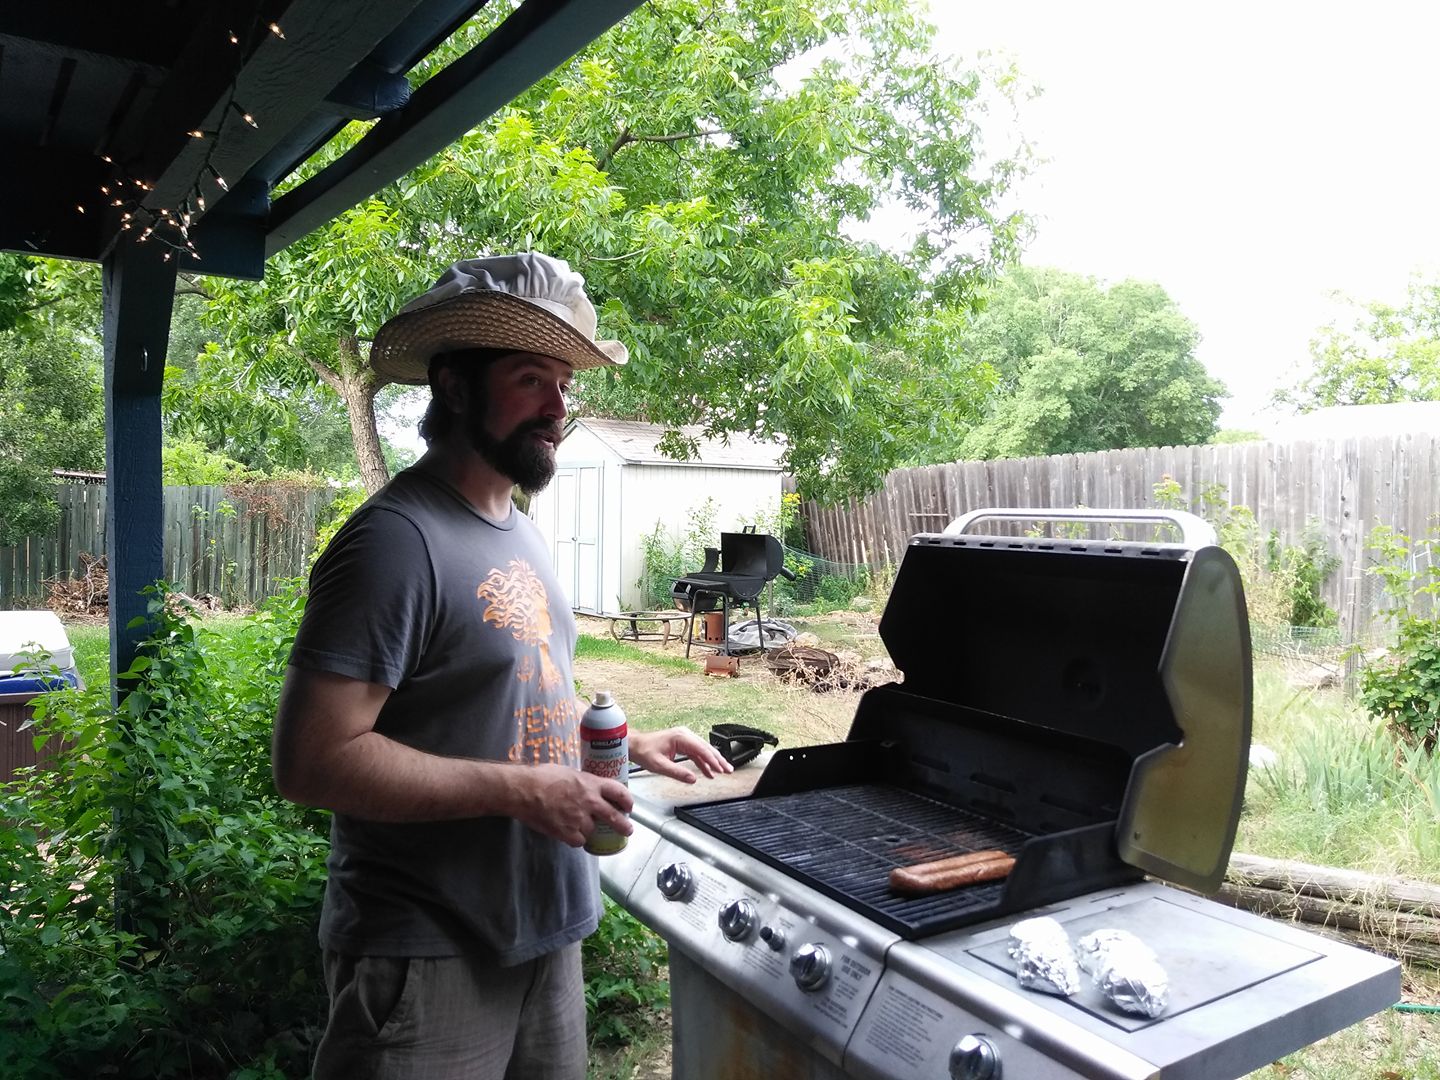
About this much?
Still, there are ways around the butter and cream. They’re not always going to be low-fat, but if you’re sensitive to dairy or cooking for vegan friends, this works well. One of my Indian comfort dishes is Saag Paneer, so I jazzed this up a bit with some peppery Broccoli Rabe and paired it with a Butternut Squash Masala that worked well as a chutney. Hope you enjoy it!
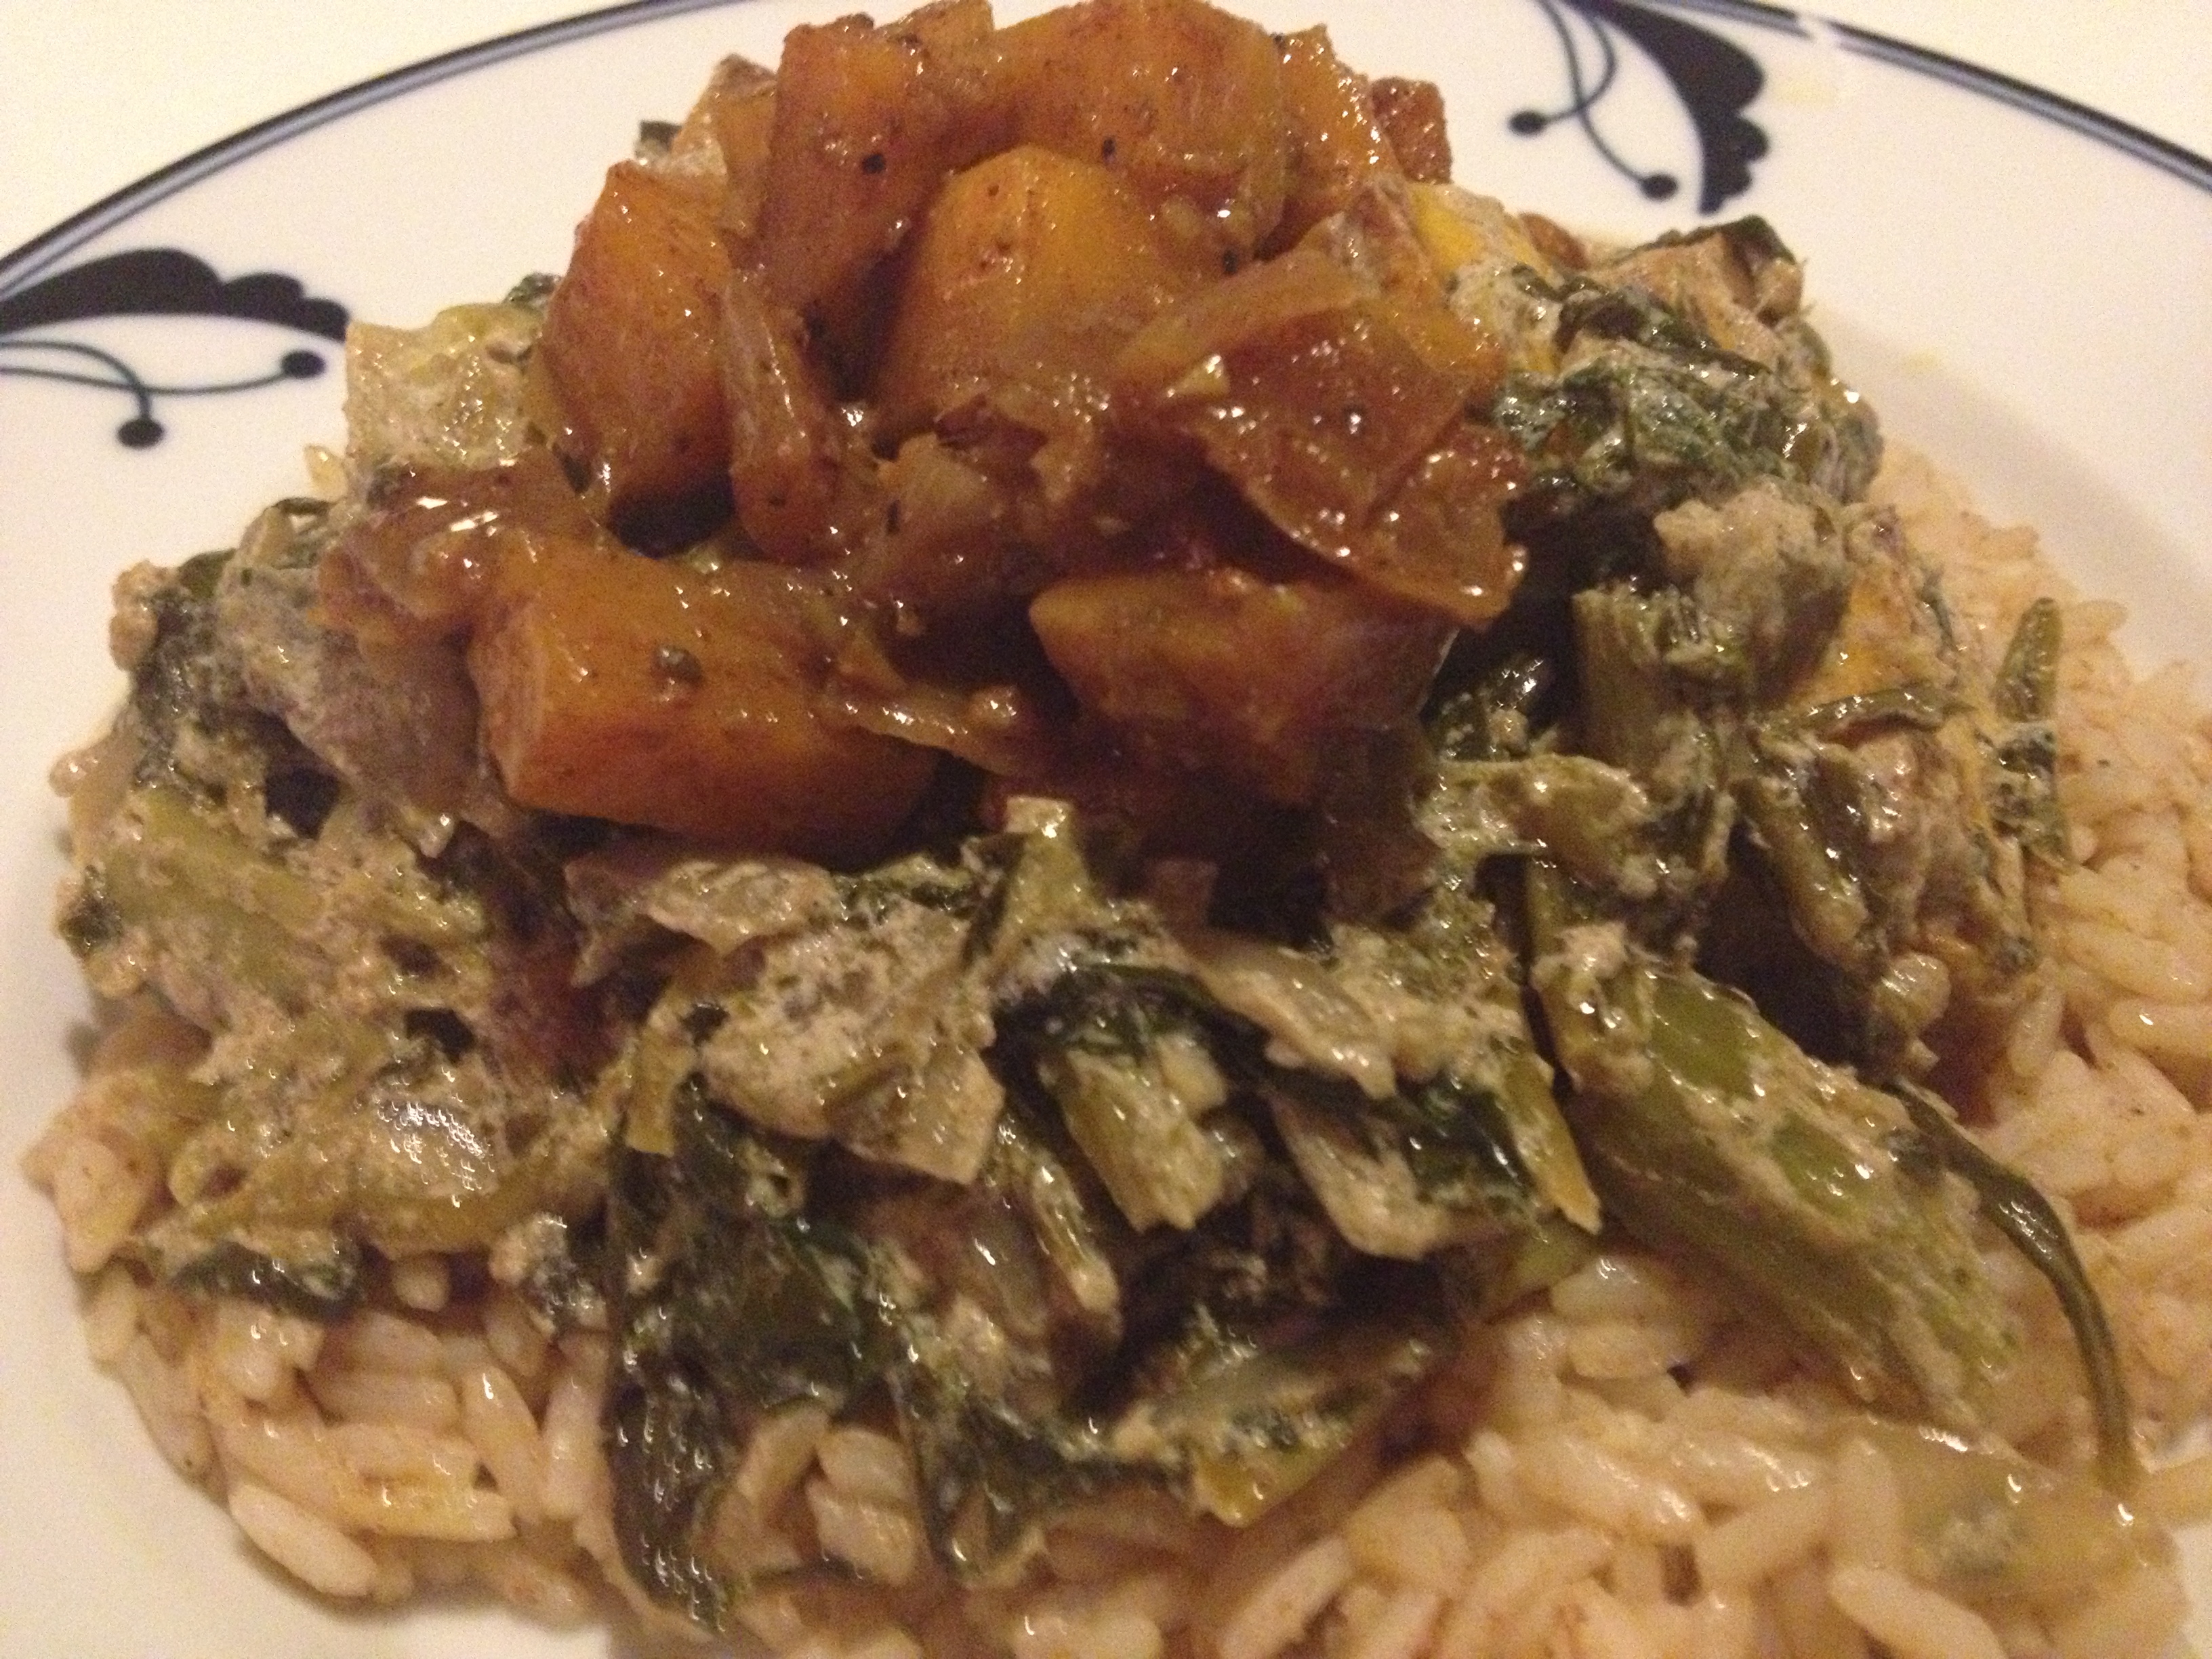
Vegan Saag “Paneer” with Broccoli Rabe and Butternut Chutney
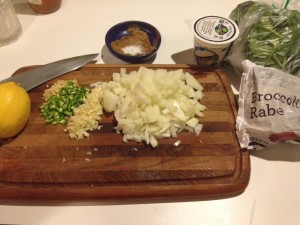
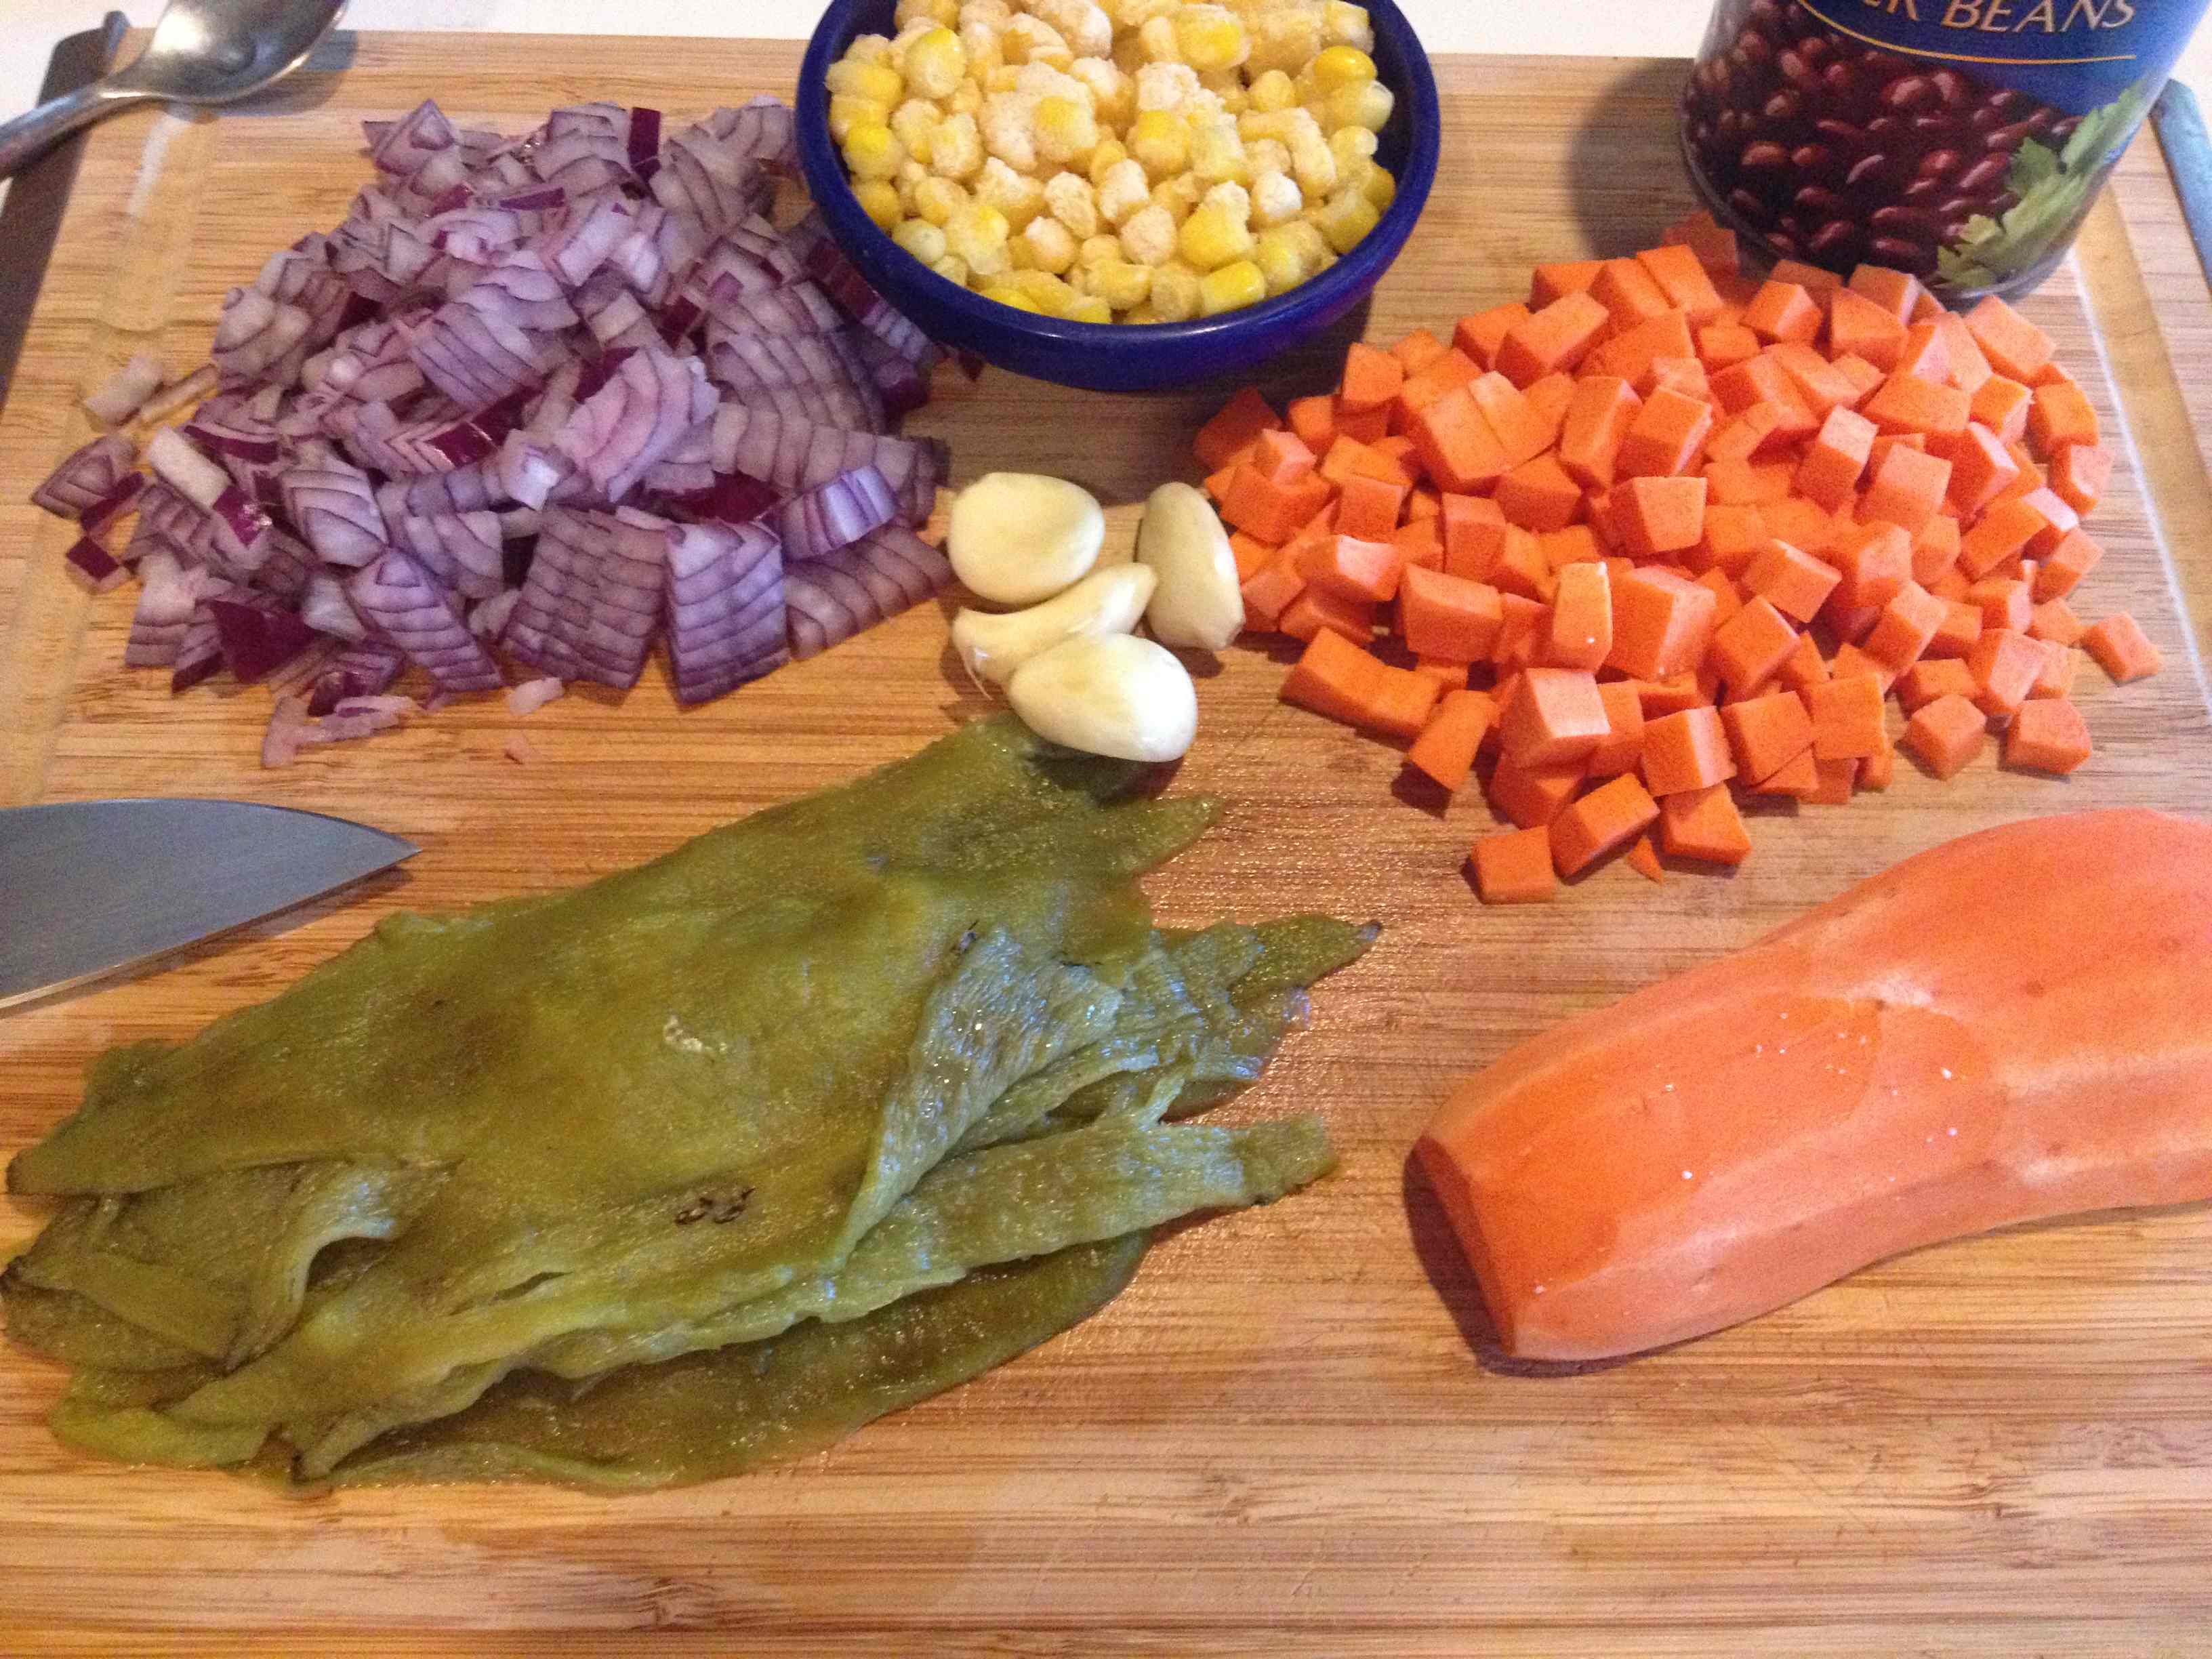
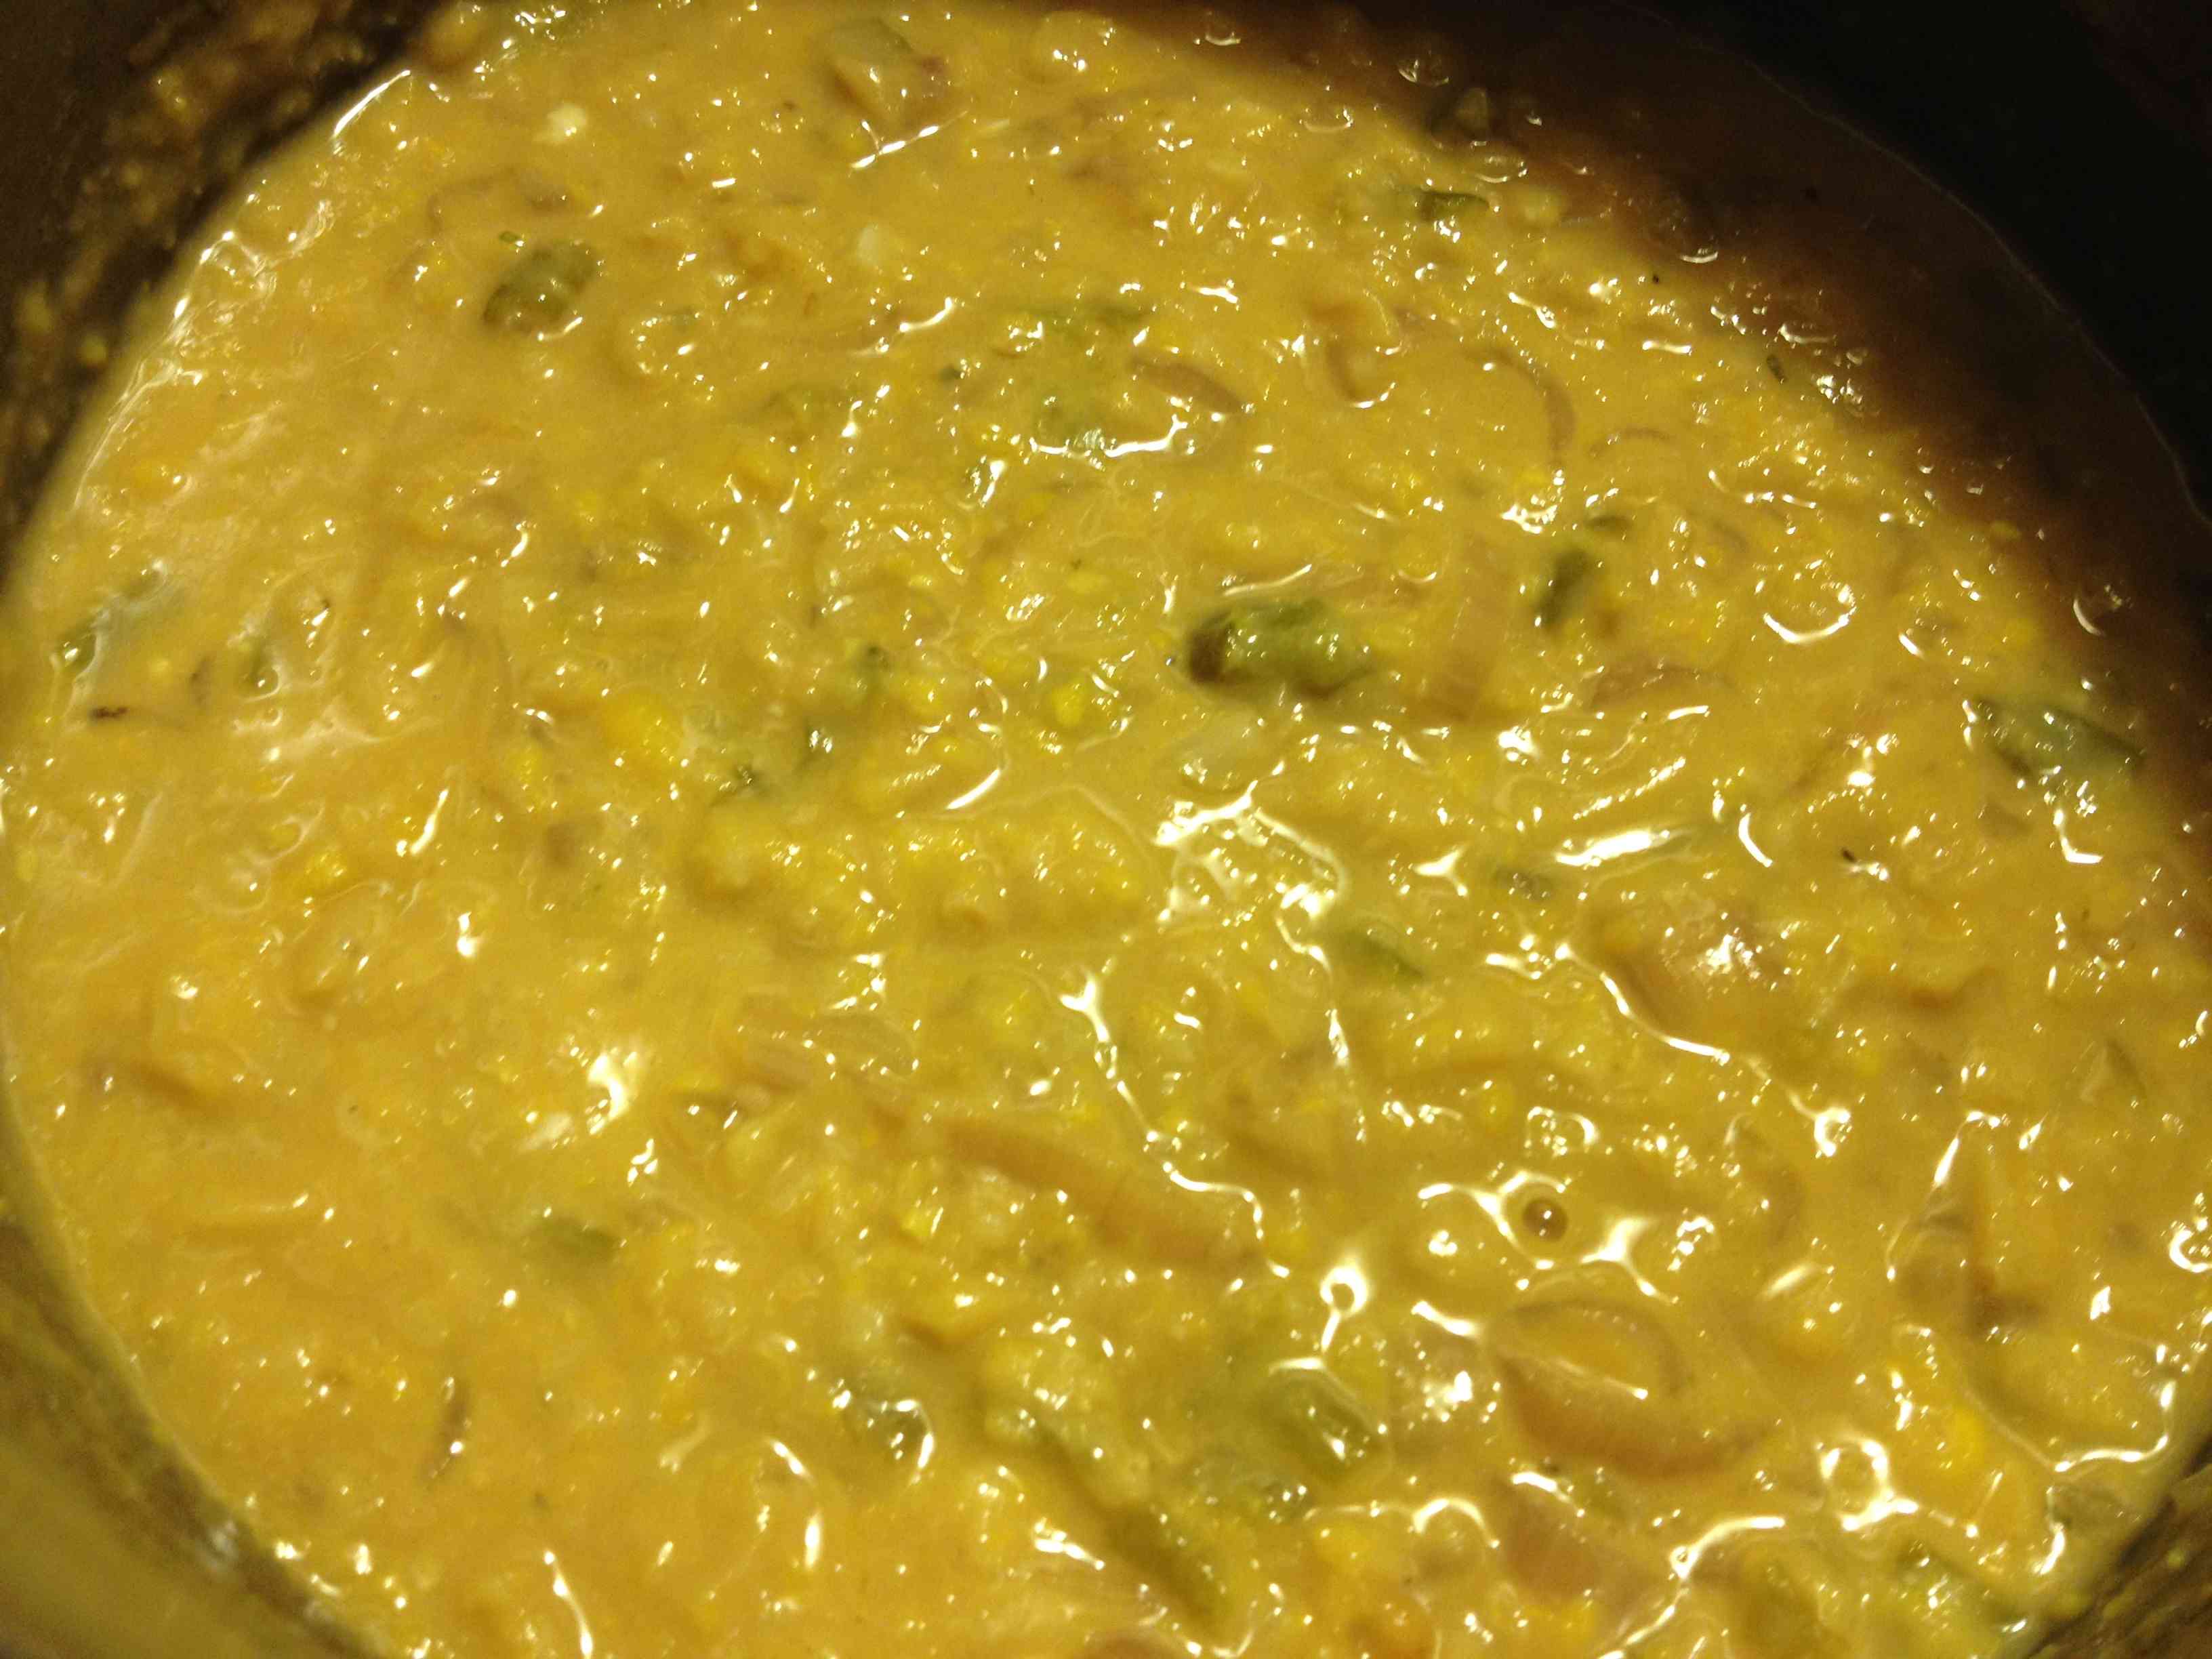
First, for timing’s sake, start with the Butternut Squash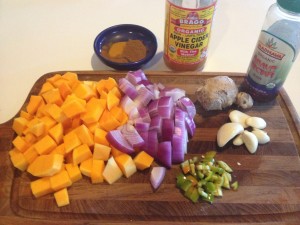
1/2 butternut squash, or 1 bag frozen cubes
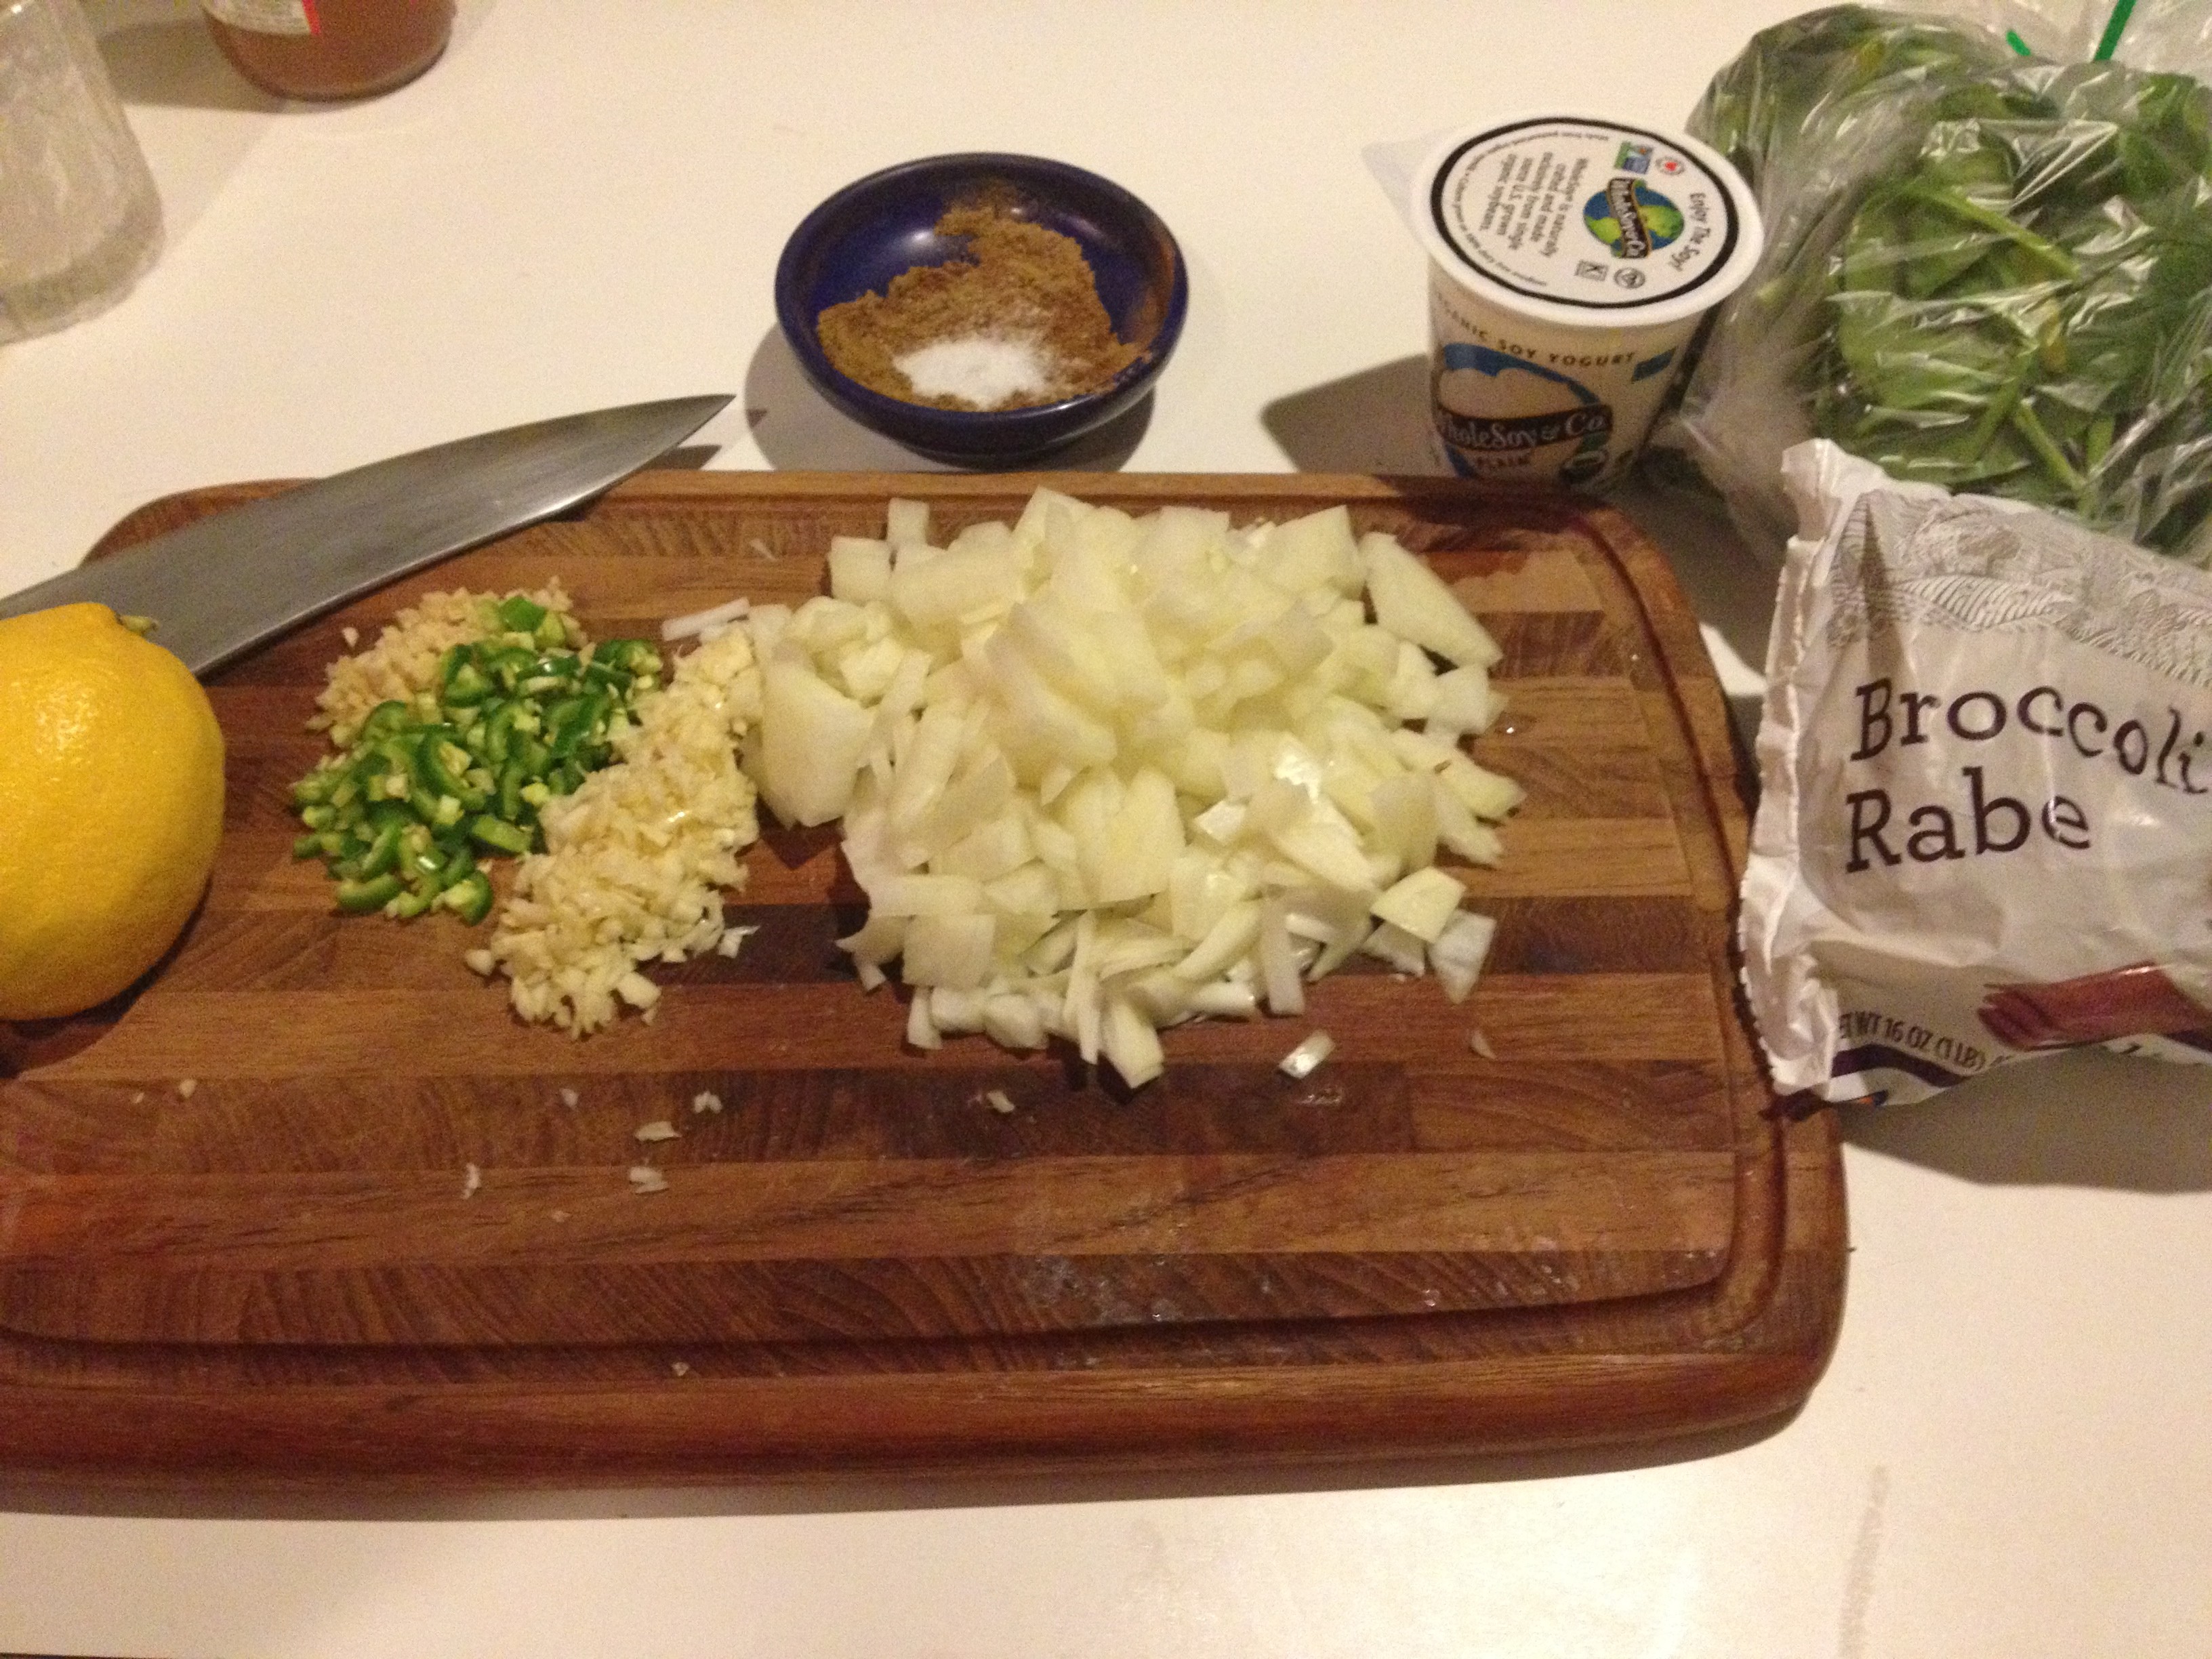
1 red onion, diced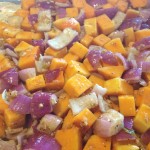
2 T vegetable oil
6 cloves garlic
1 inch ginger
1-2 Serranos, chopped
Agave nectar
Cider vinegar
1/2 t Turmeric
1/2 t Cinnamon
1 t Garam masala
- Blend everything but the onion, peppers and squash in a processor and blend until smooth.
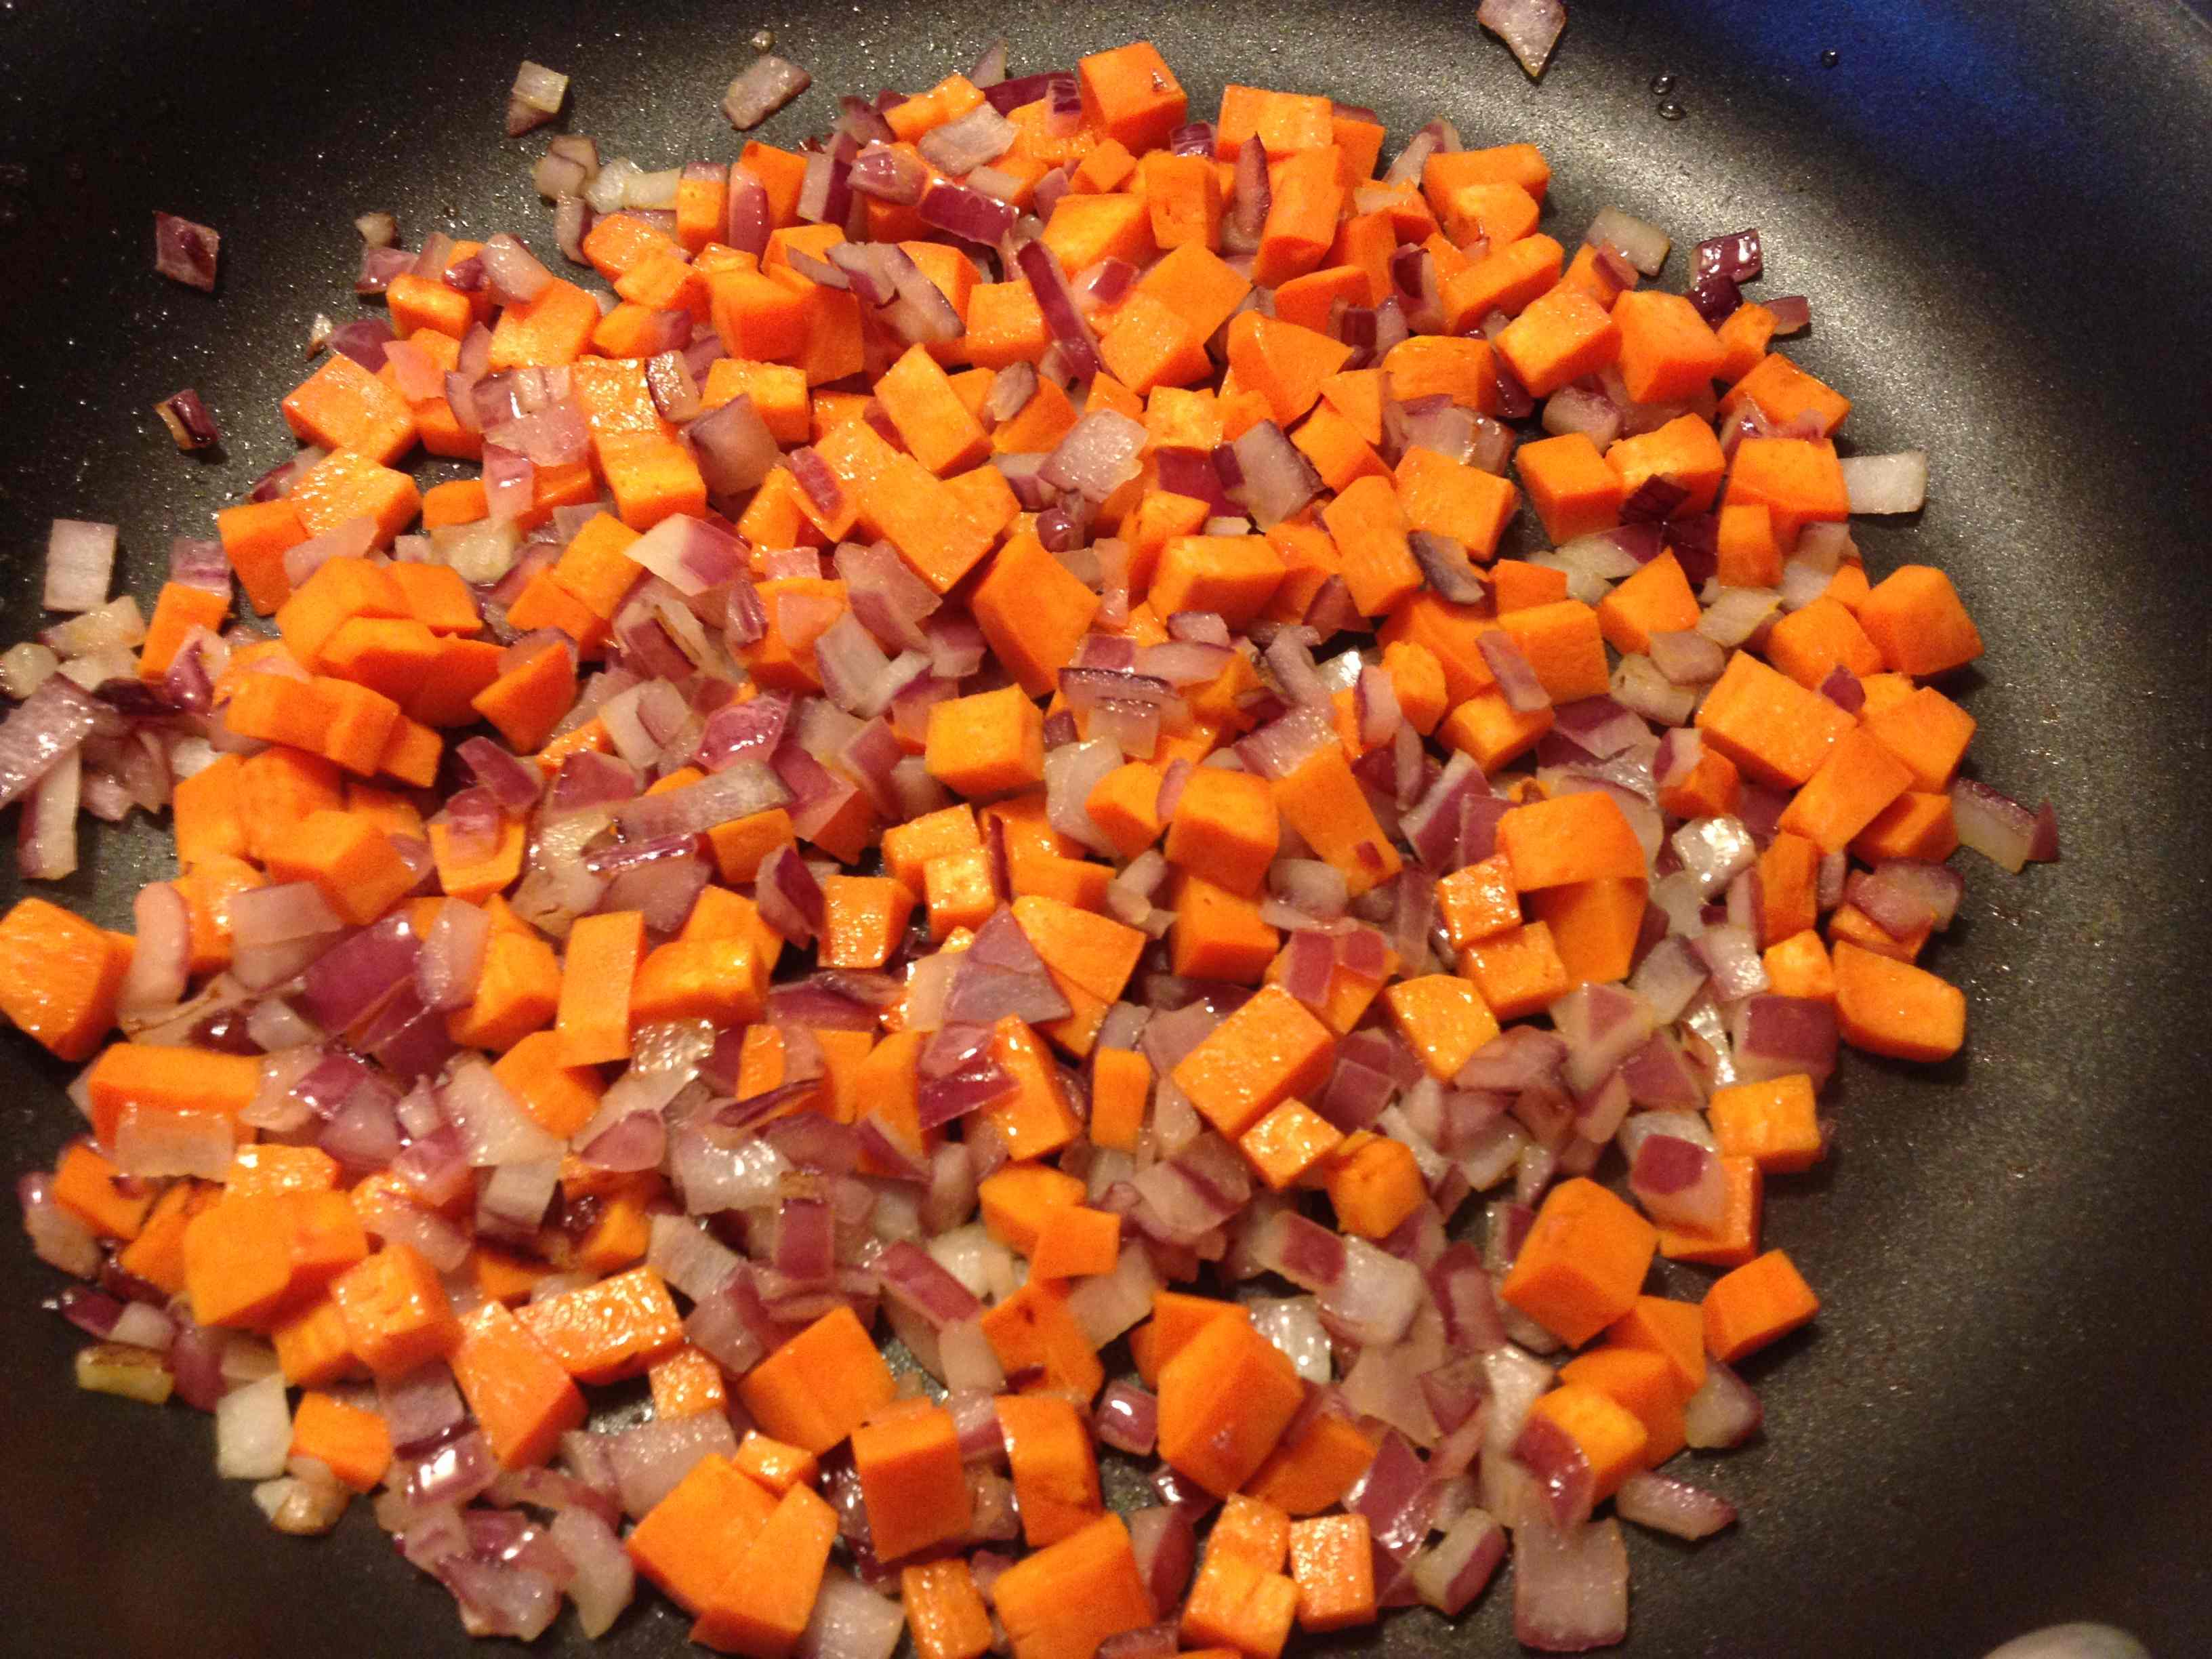
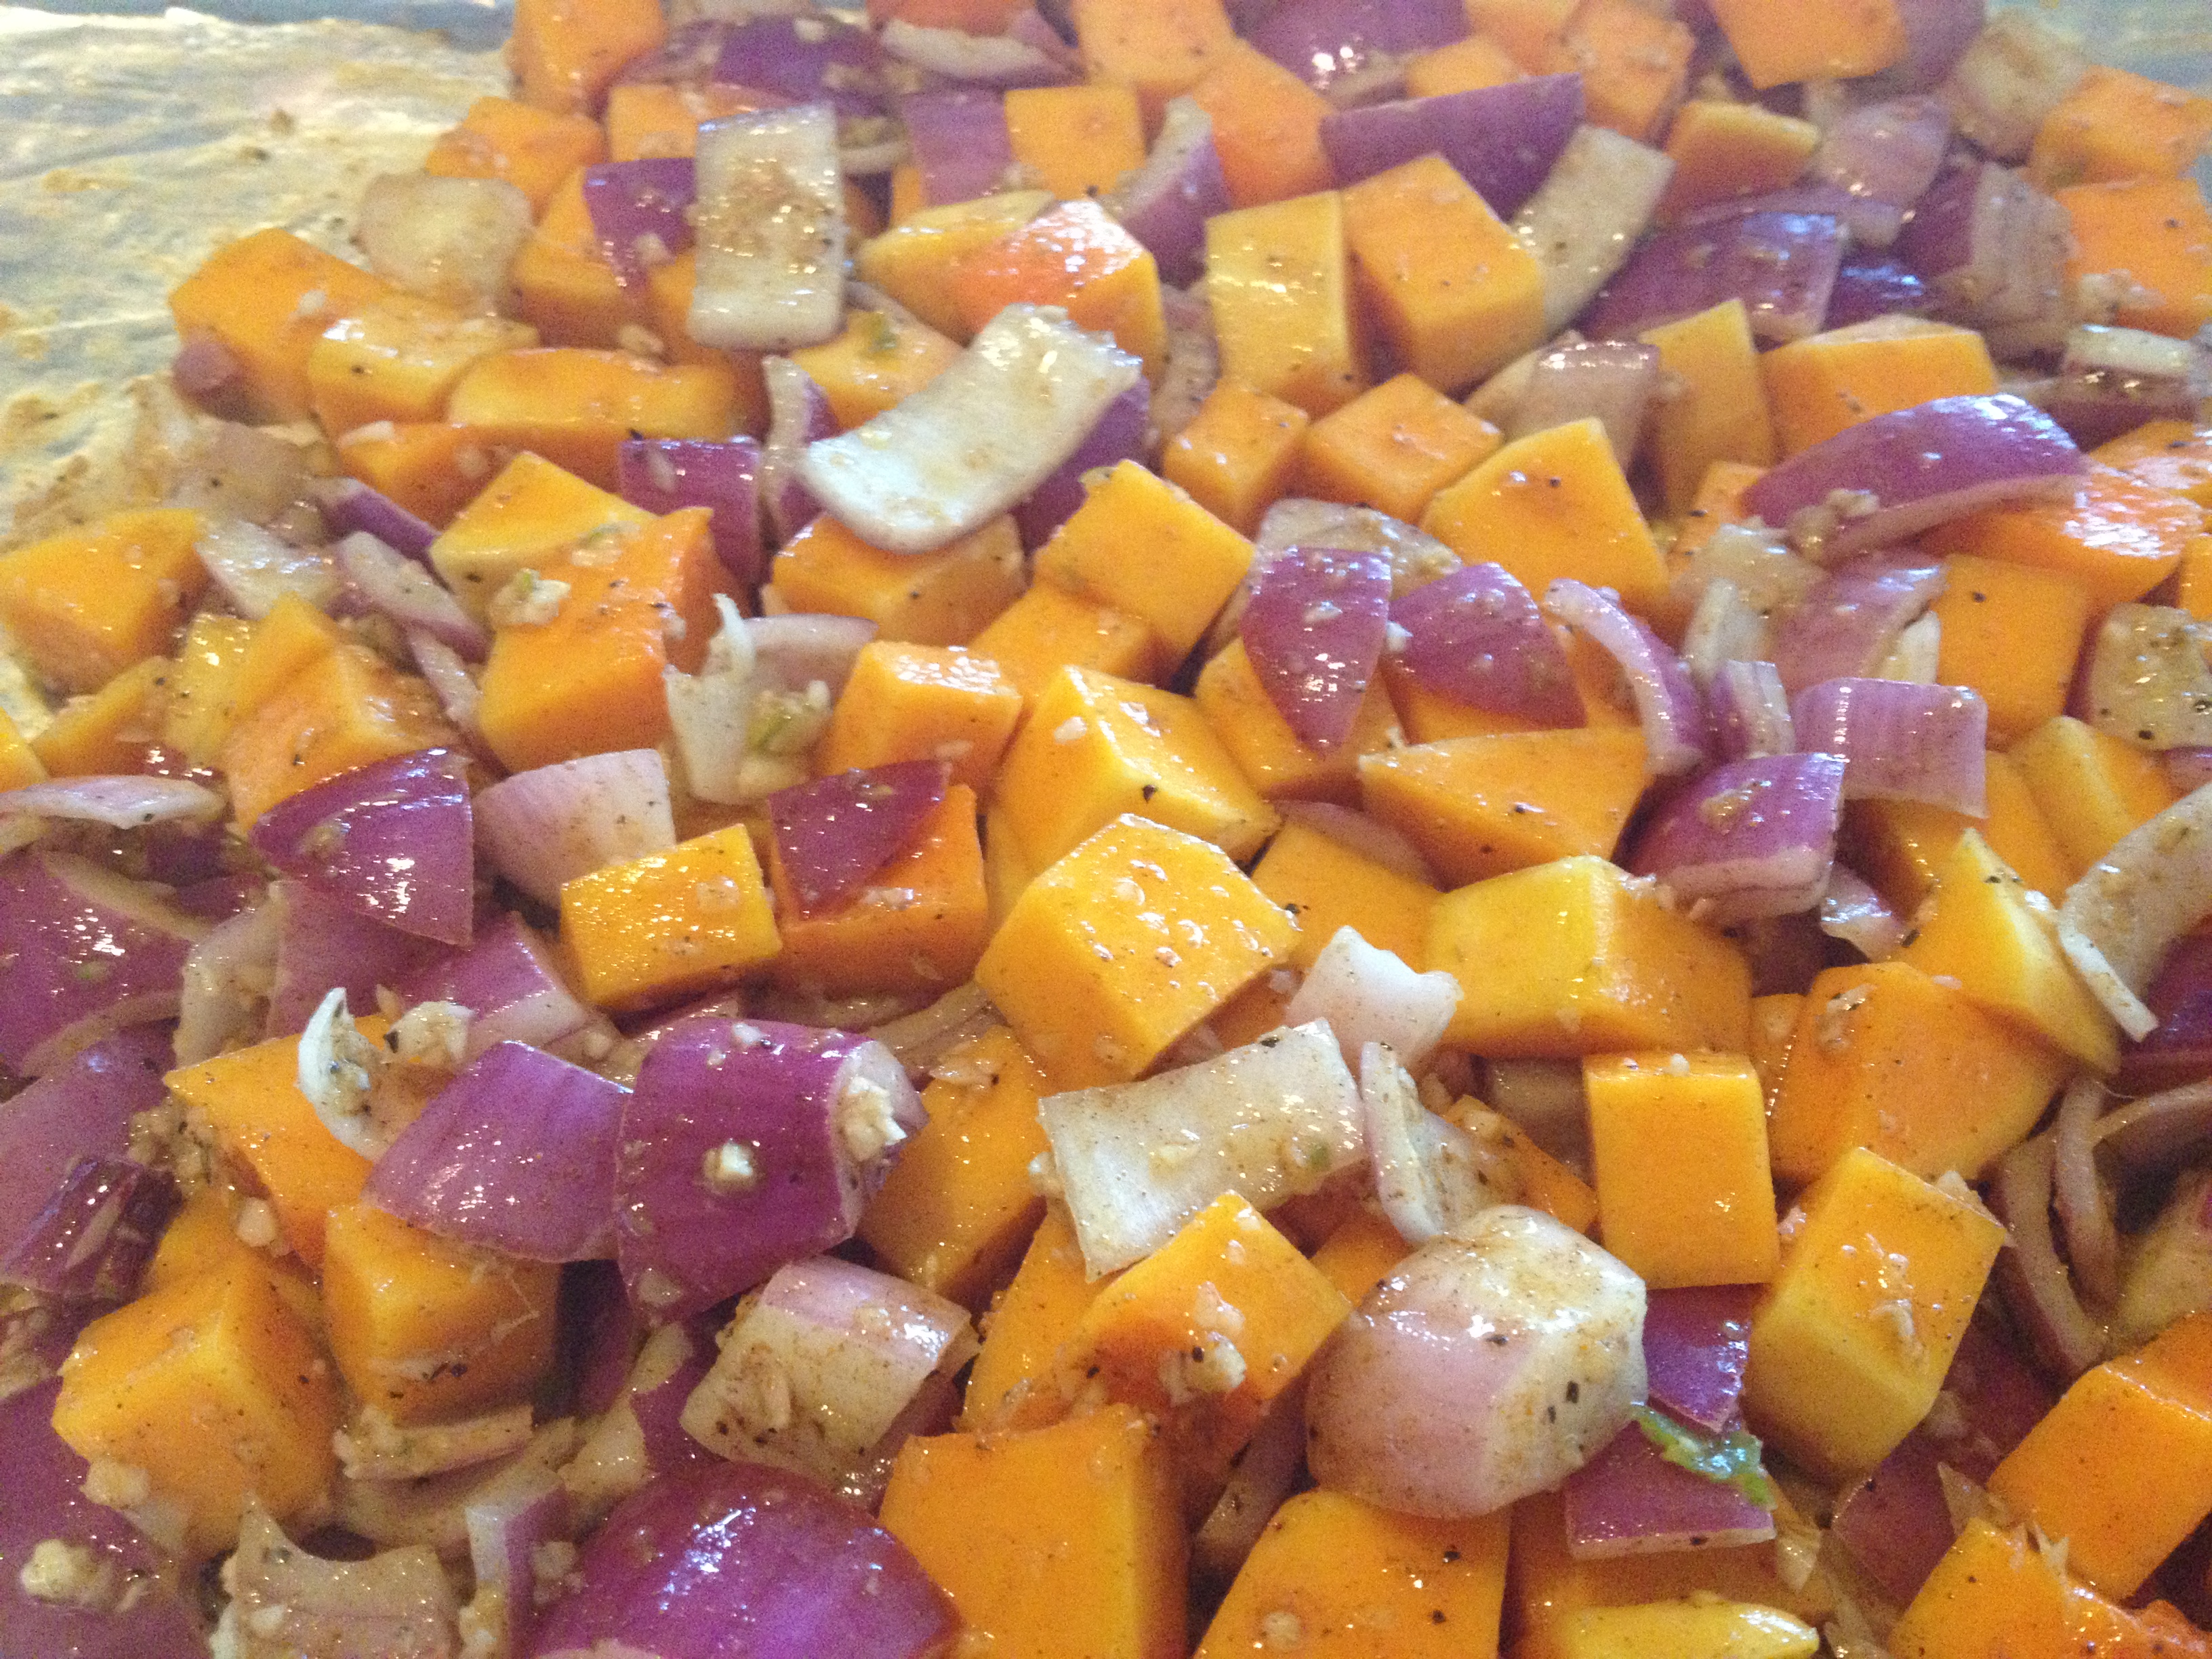
- Toss the veggies in the mixture and roast in the oven for 30 minutes at 375.
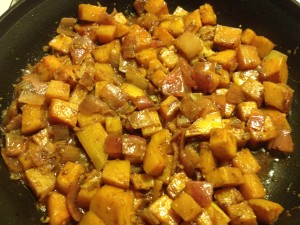
- Move to a pan over low heat, add a bit more vinegar or some lime juice and simmer, covered, for another 20 minutes, until soft and just a little bit saucy.
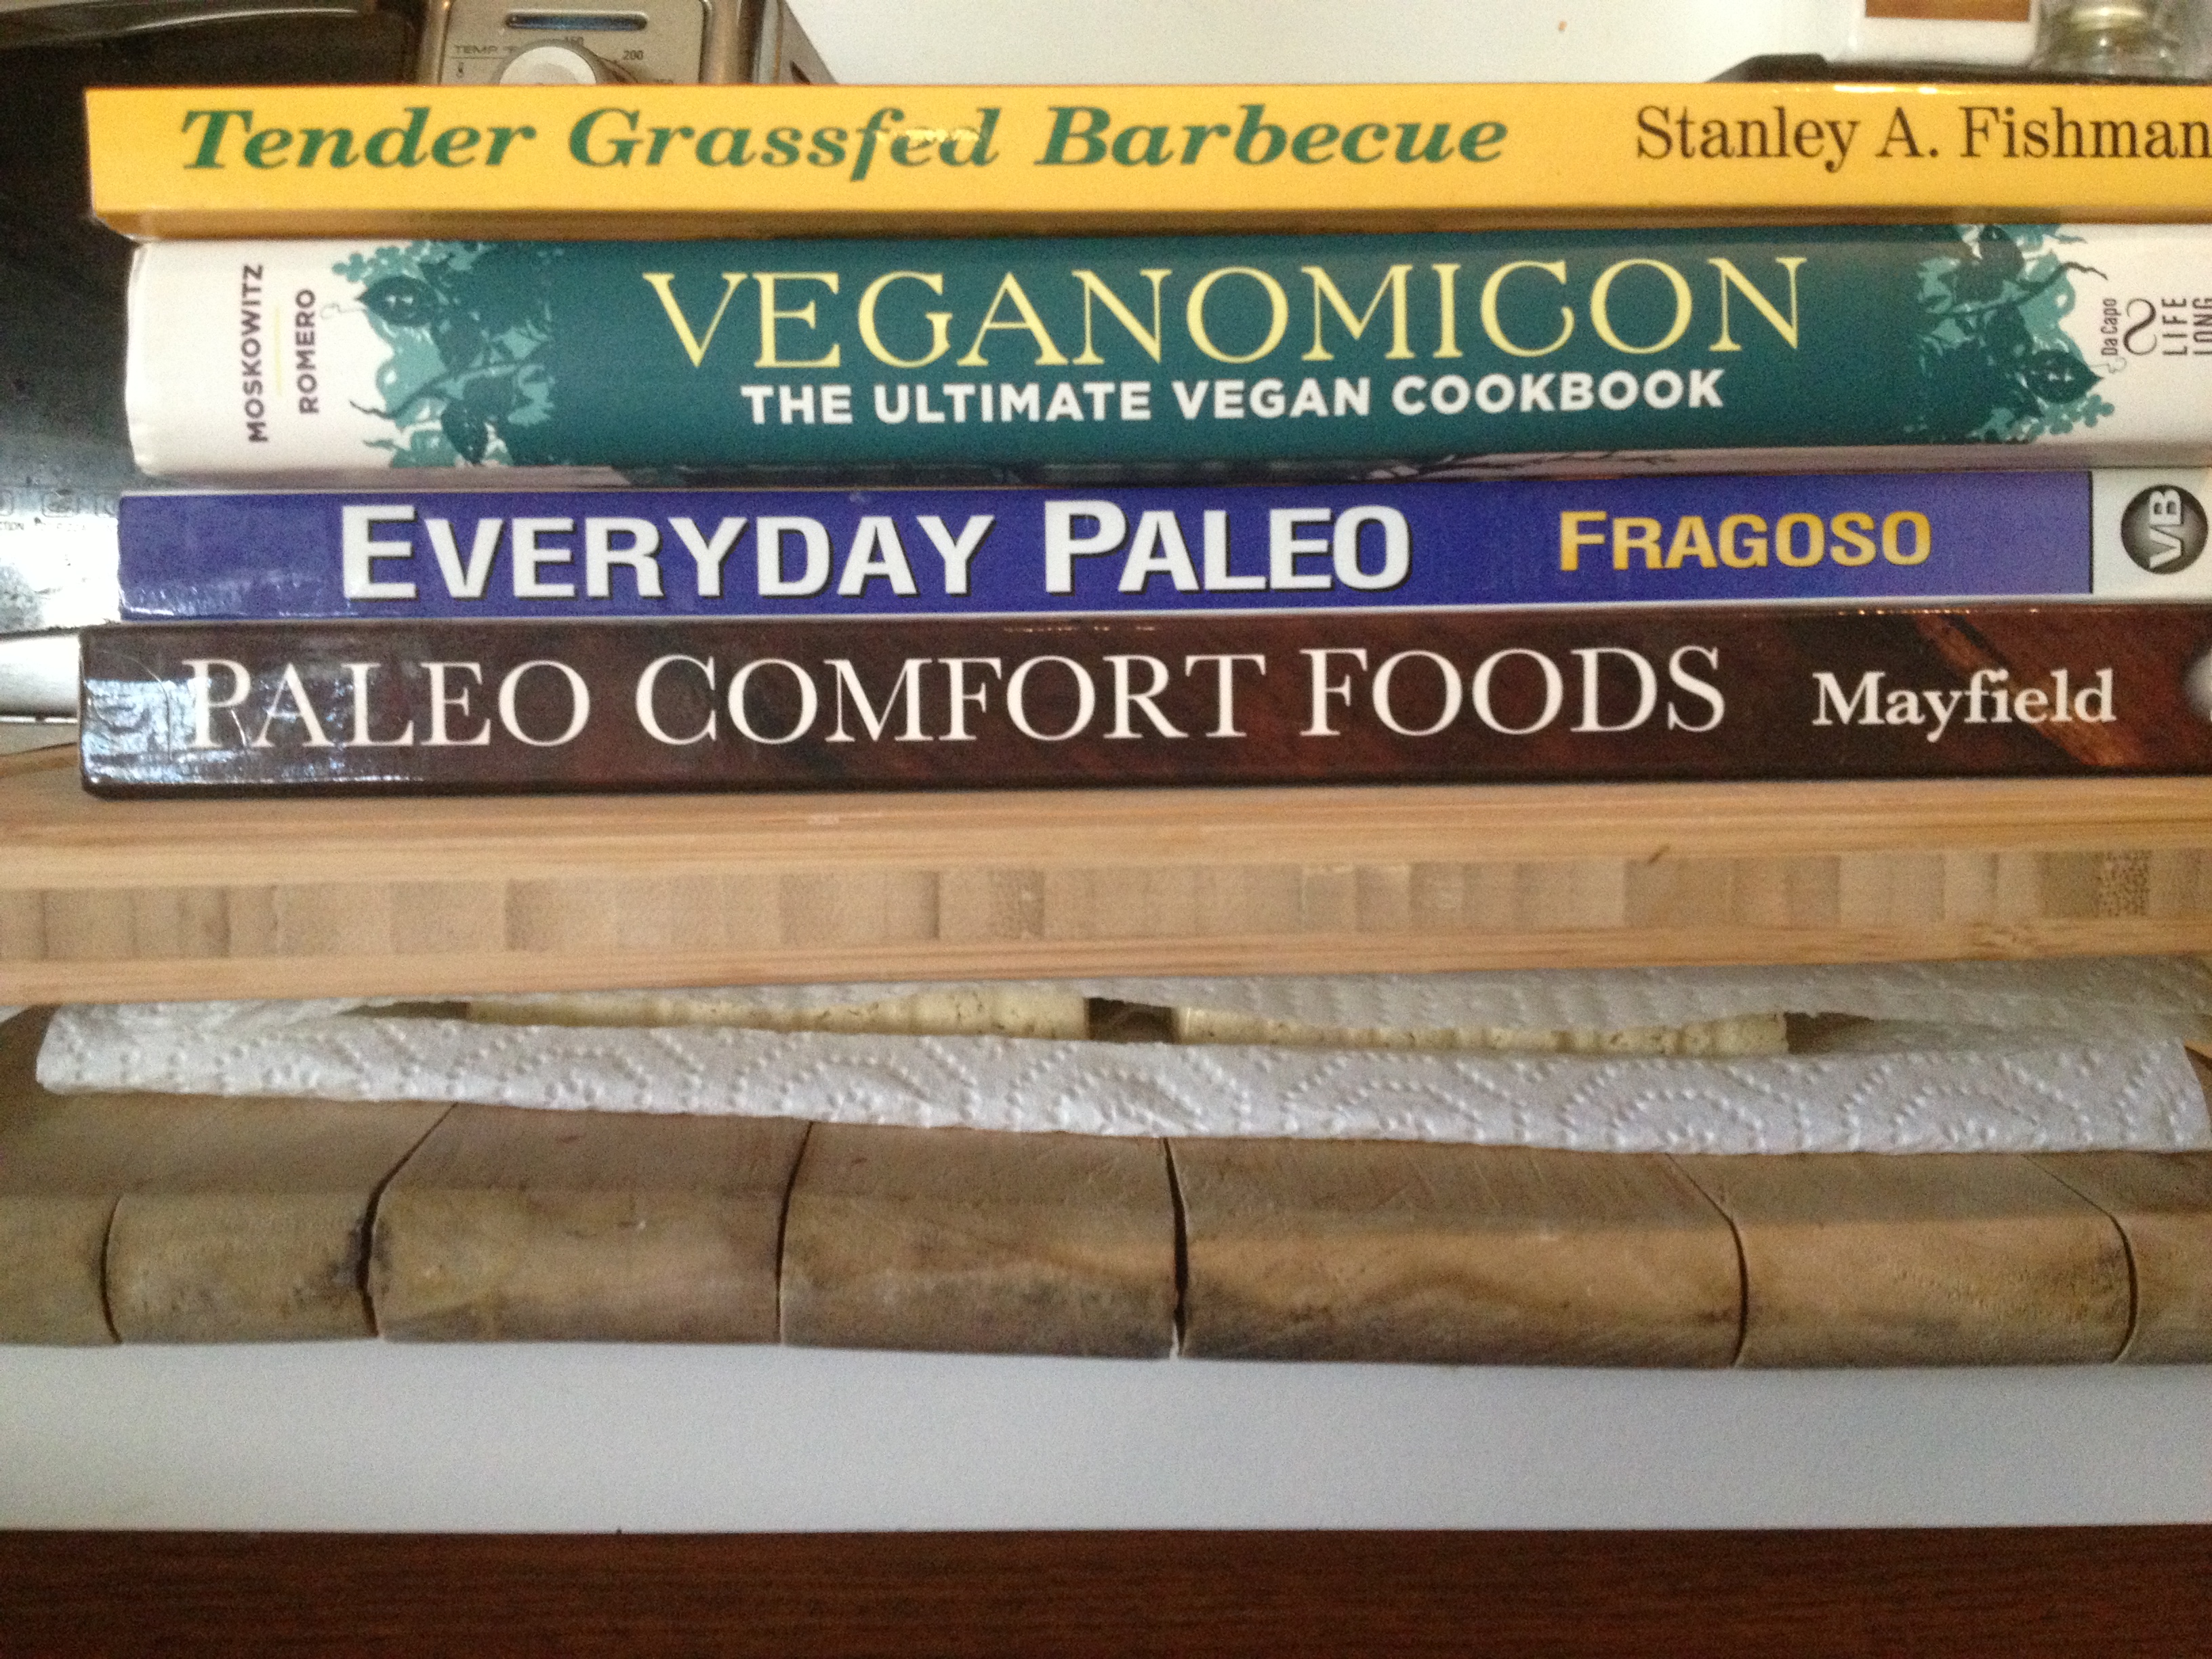
While that’s preparing, get your tofu started. You’ll need to press it for a while to get a good texture.

Perhaps under some of your favorite cookbooks?
Tofu Paneer
 Firm tofu, pressed and cut in squares
1/2 inch ginger
5 cloves garlic
2 t red wine vinegar
1 t garam masala
1/2 t turmeric
Salt
2 T vegetable oil
- Press the tofu for an hour.
- Cut in bite-sized cubes.
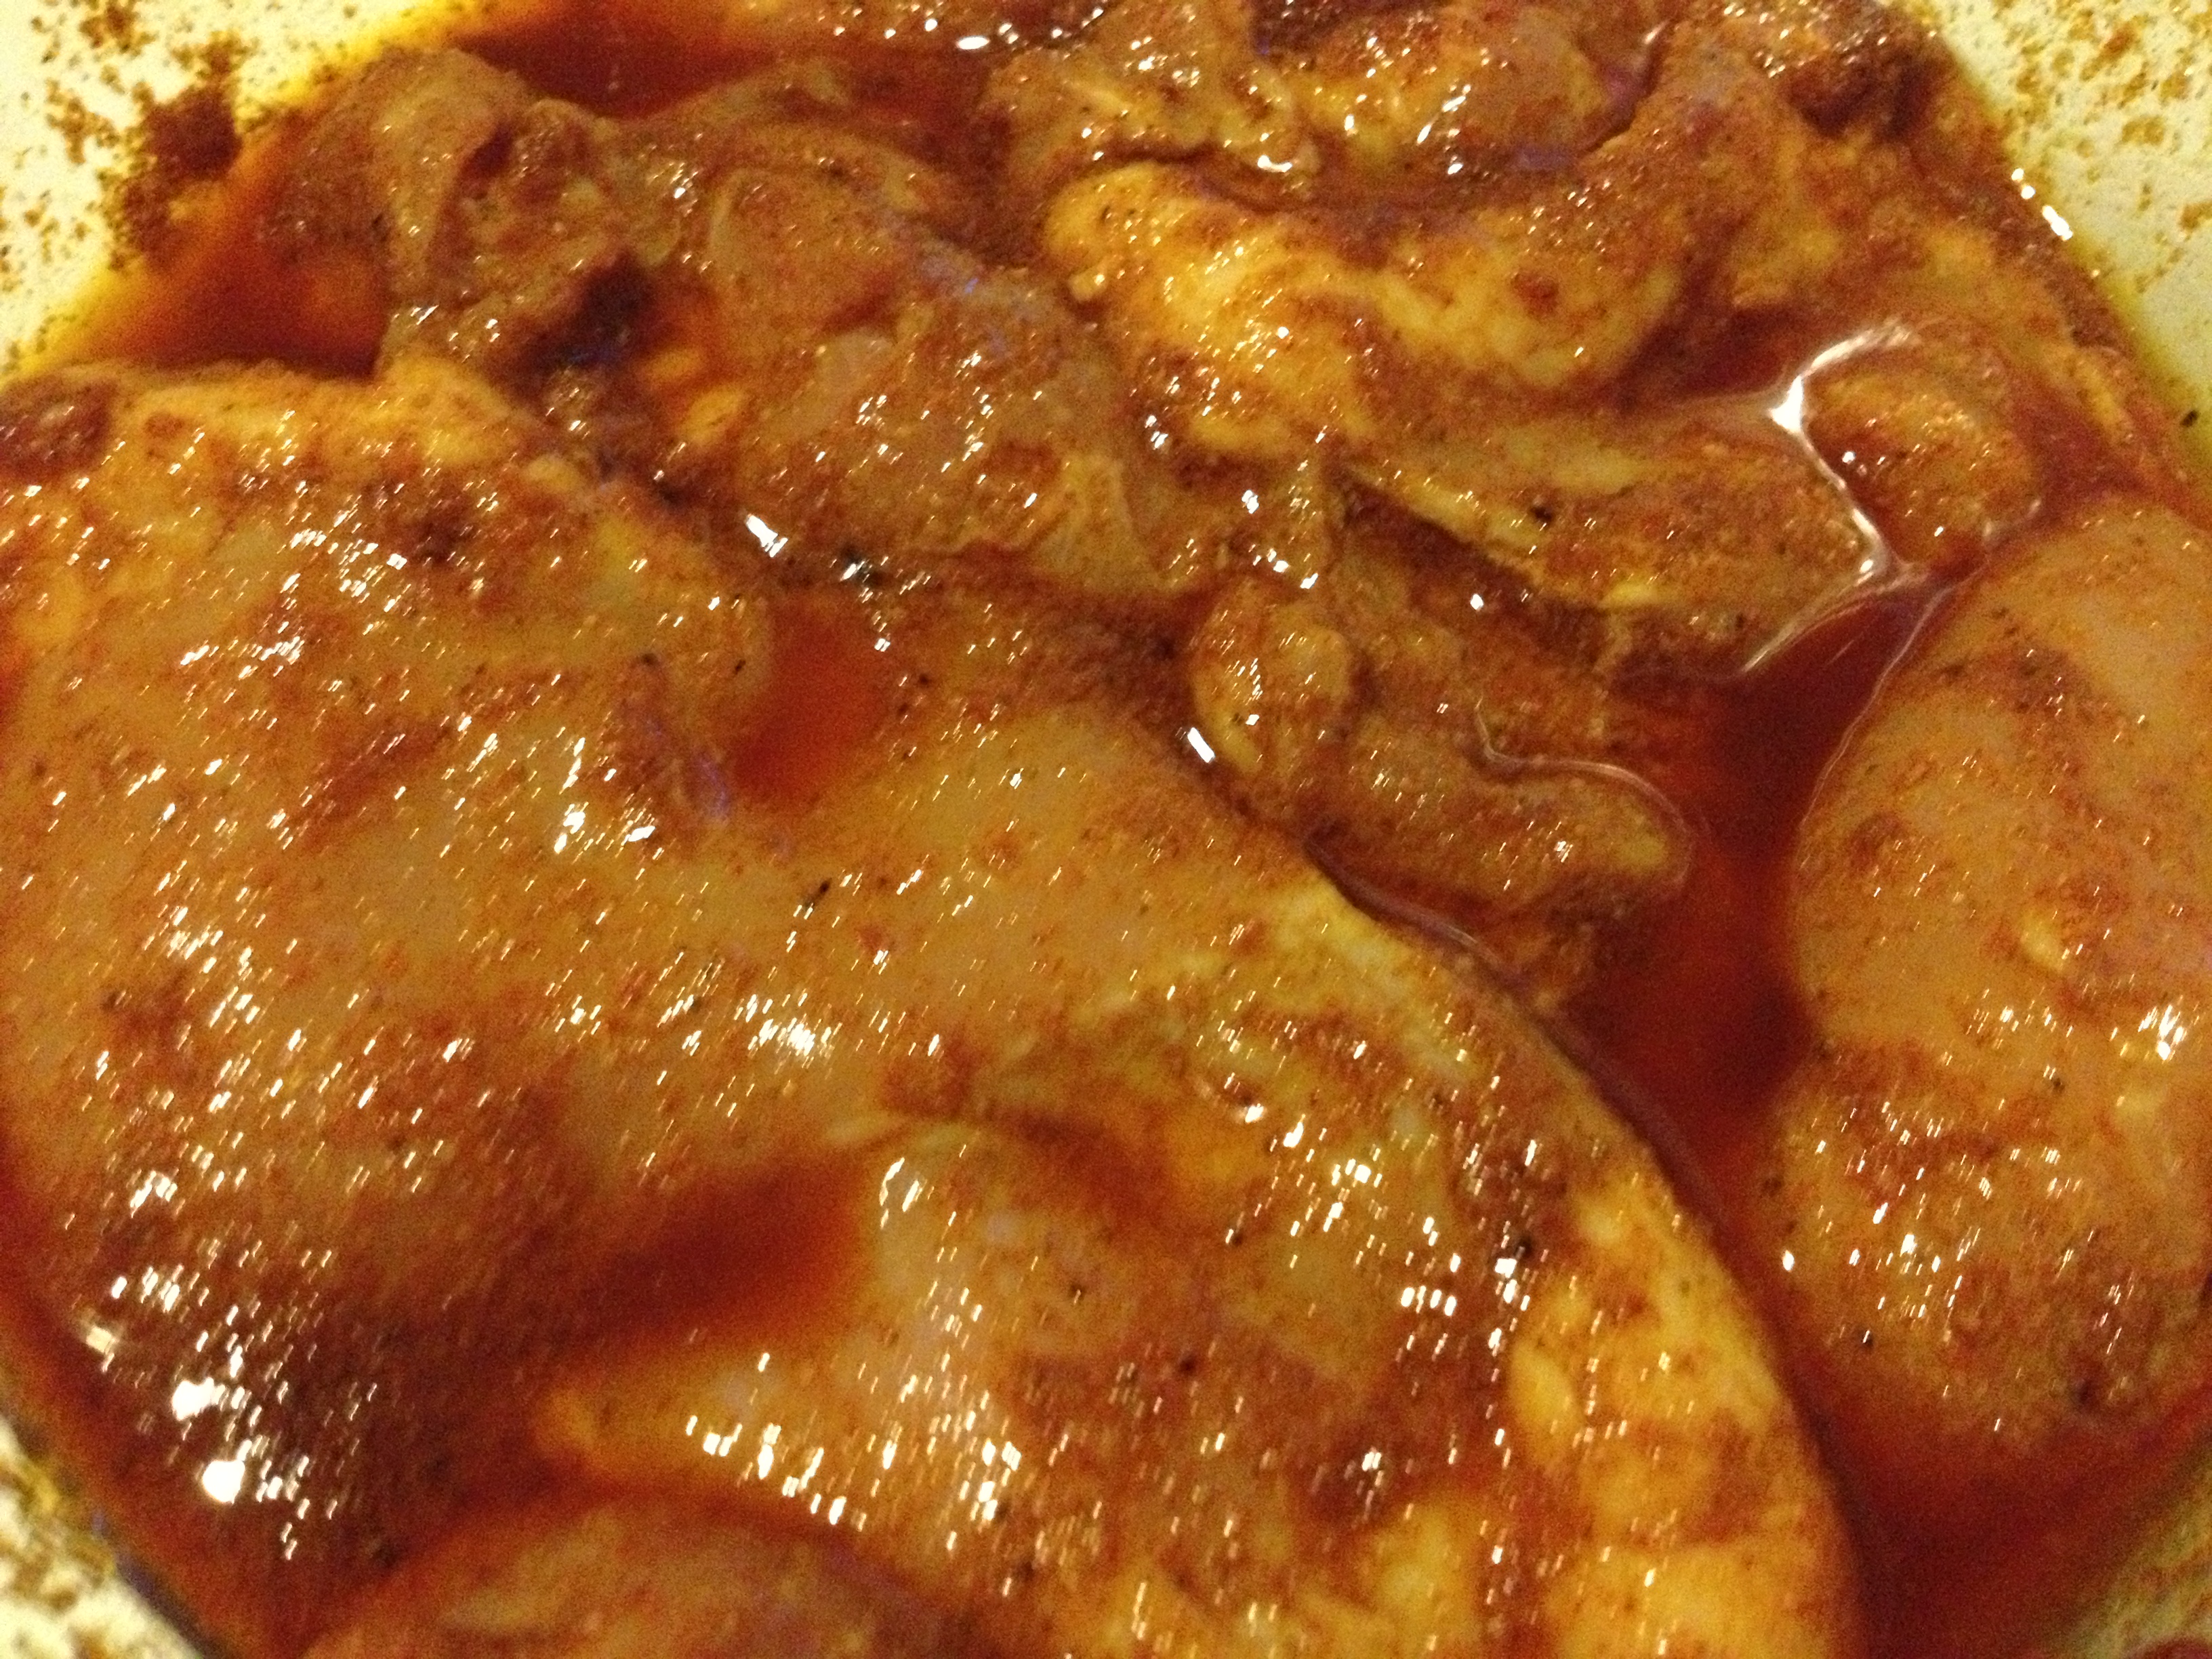
- Blend the other ingredients until smooth and toss with the tofu to marinate for at least 30 minutes.
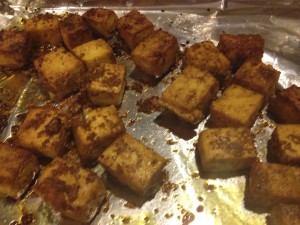
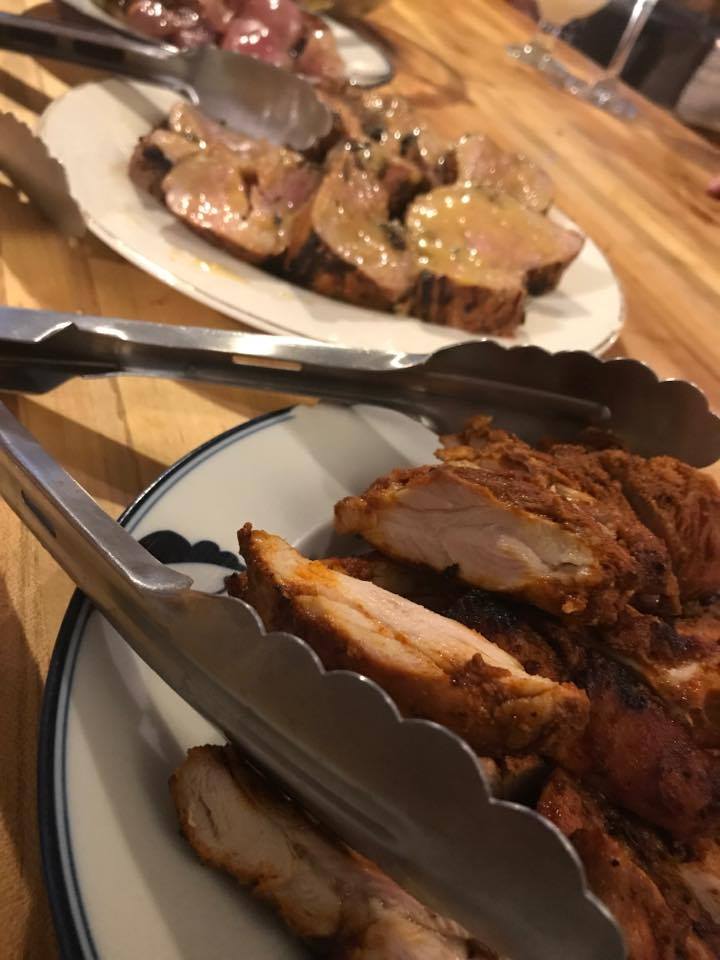
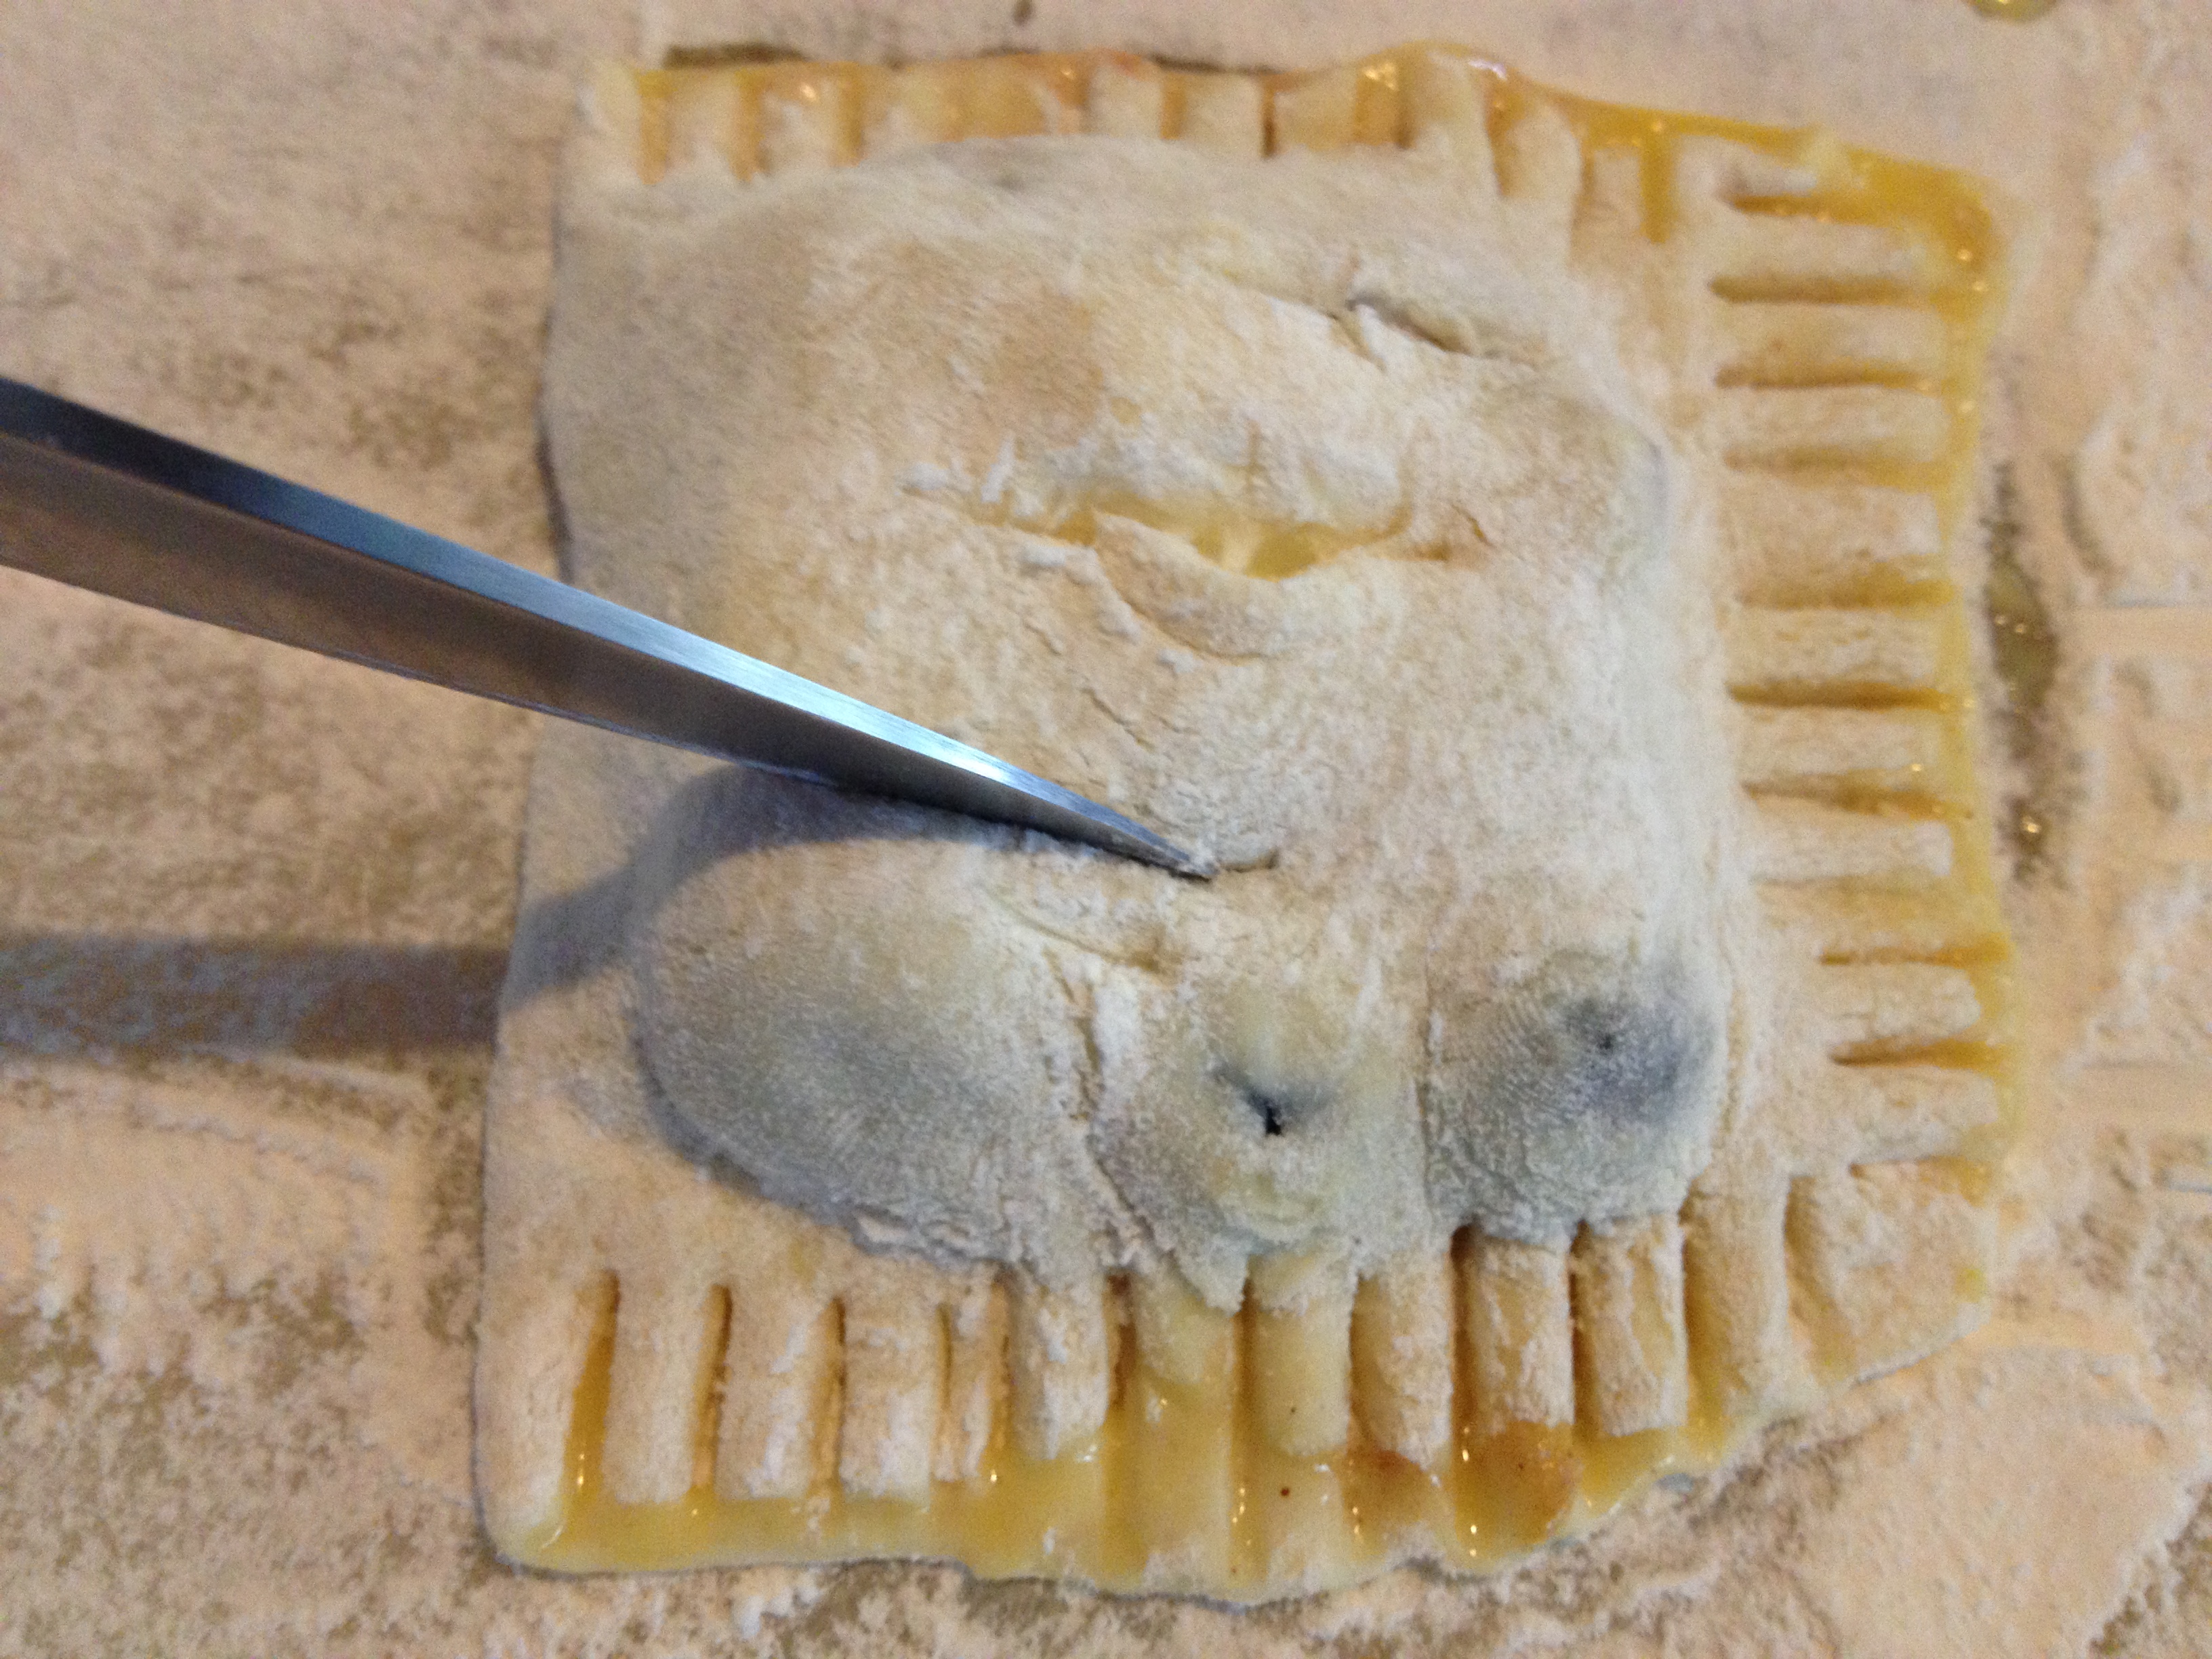
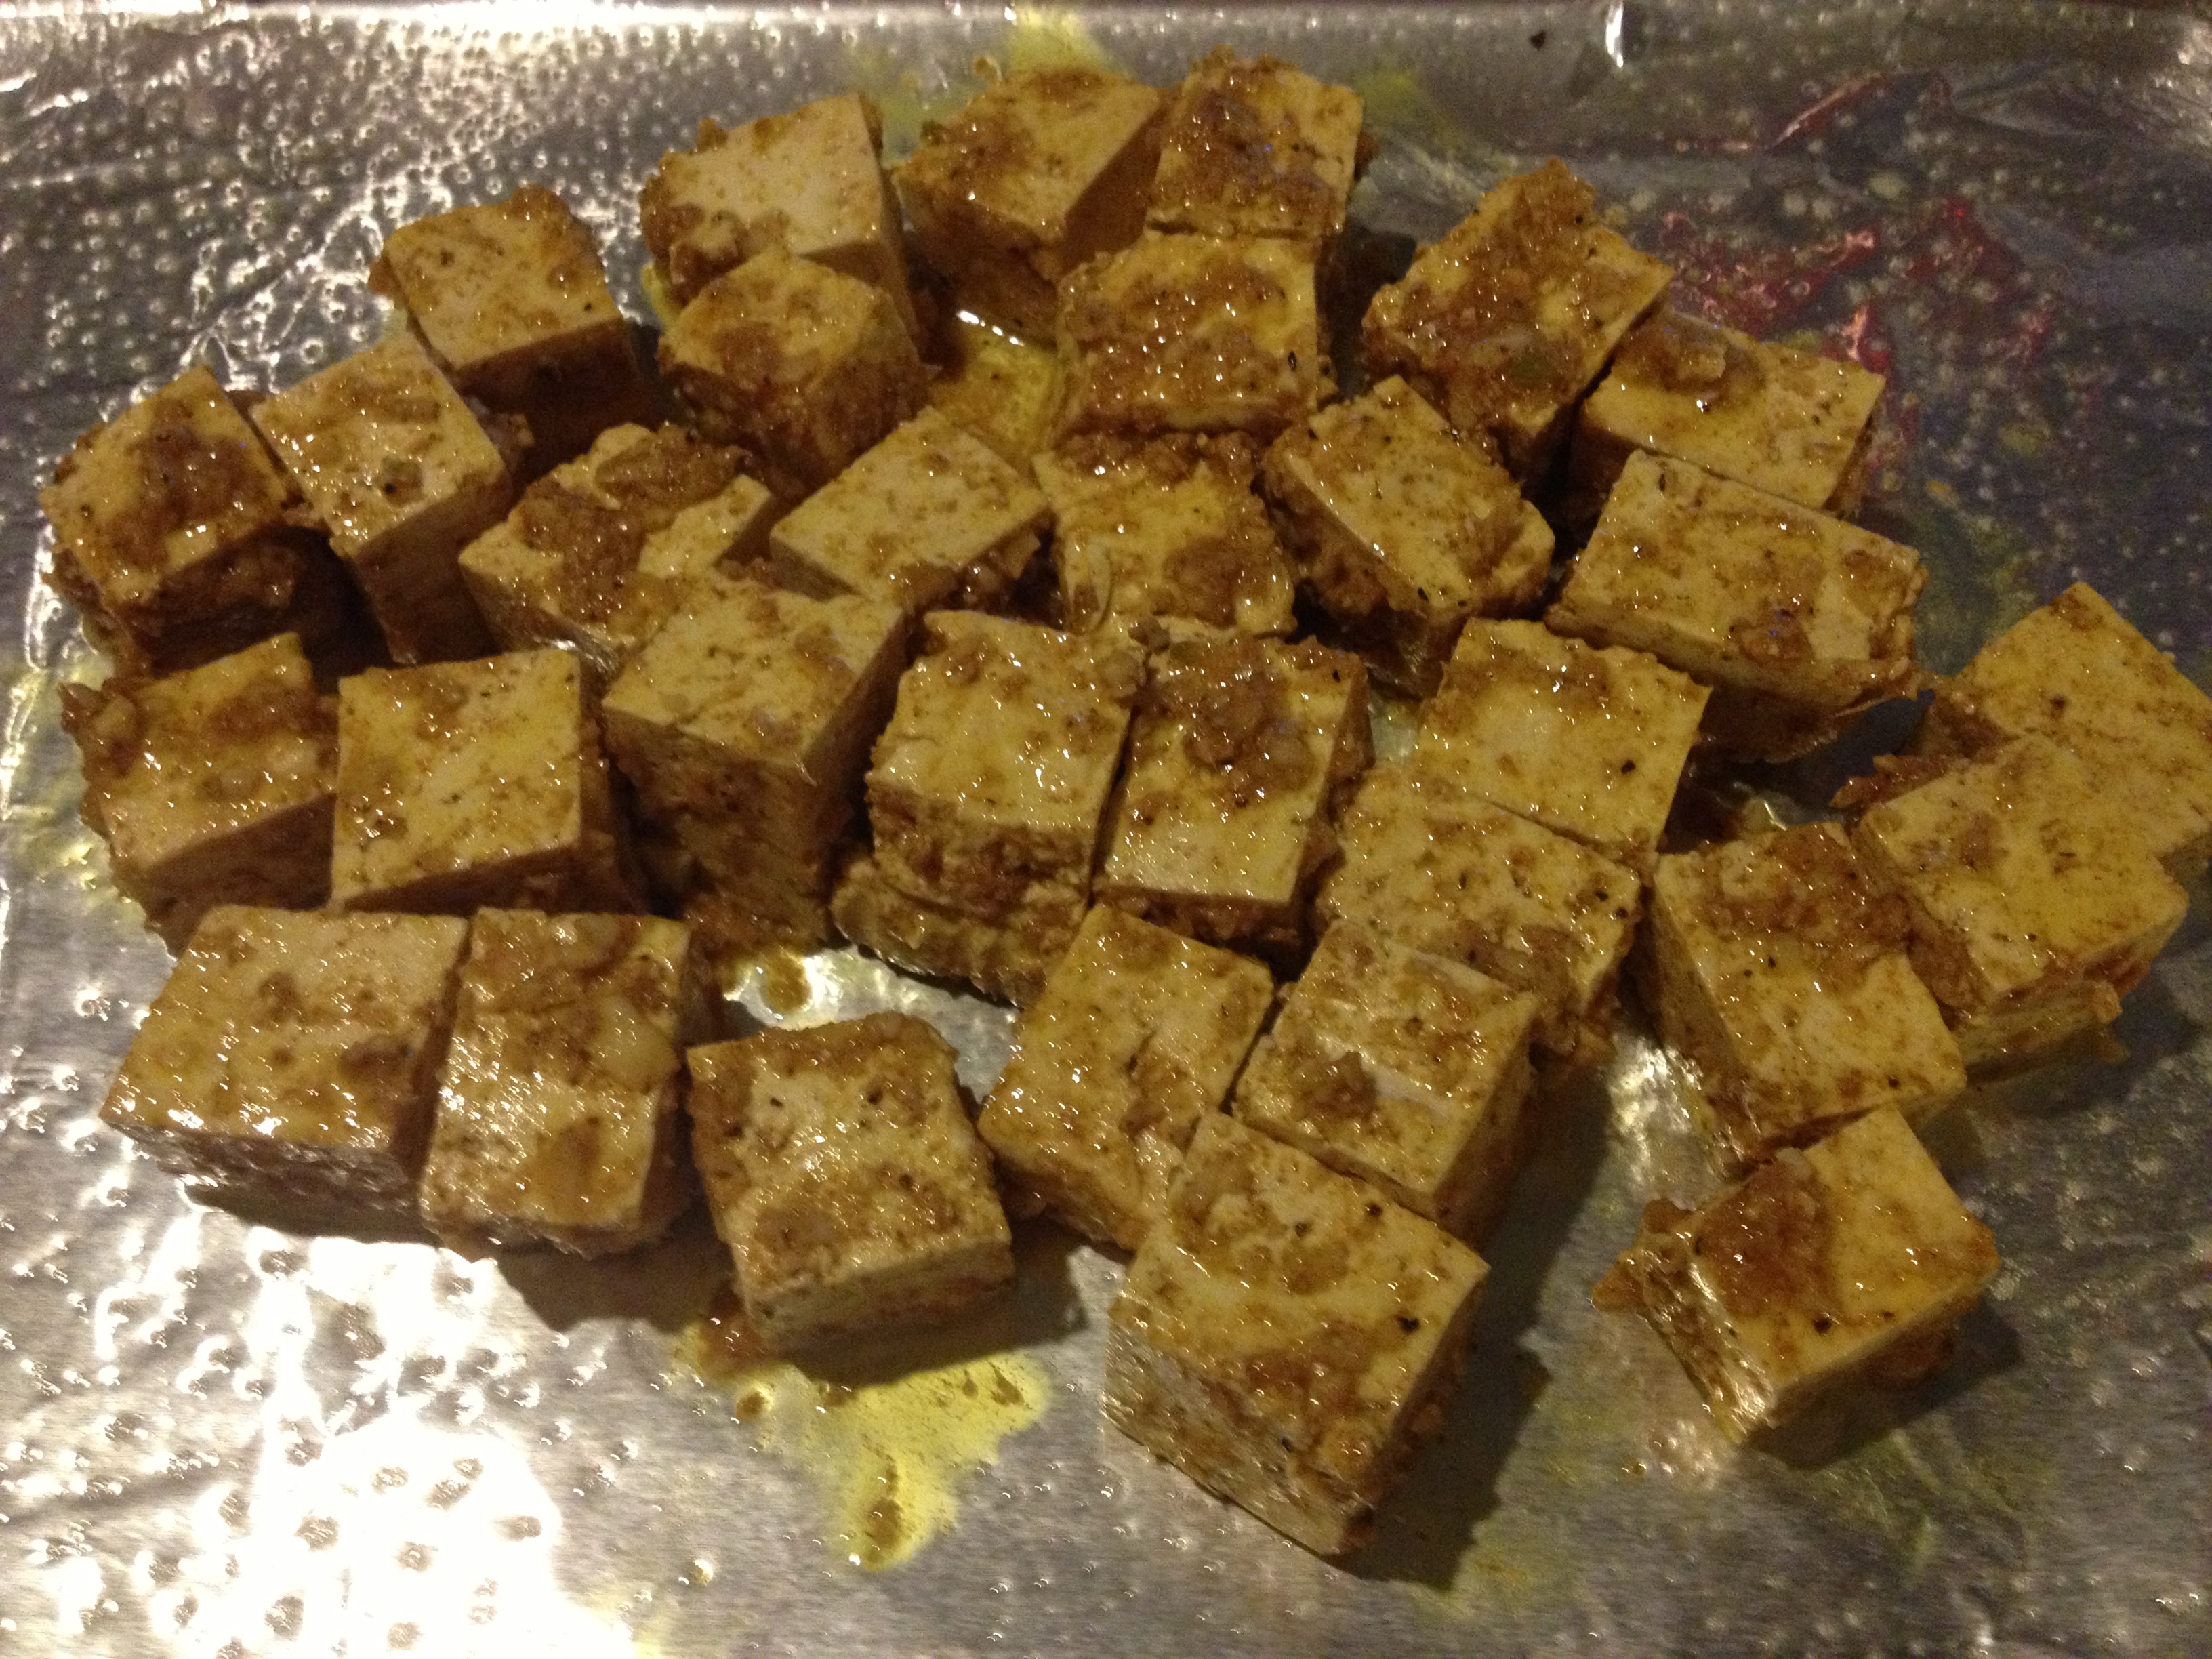
- Bake at 400 for 20 minutes. They should look nicely browned, like this
While those are roasting in the oven, get started on your Saag. You can use just spinach for this, or alter the ratio of spinach to rabe. Either way, you’ll get a better ending consistency if it’s well chopped. Mine tasted fine, but next time I’ll chop it more.
Vegan Saag
 1 onion, chopped
6 cloves garlic, minced
1/2 inch ginger, minced
1 lb broccoli rabe, chopped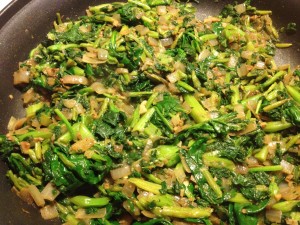
1/2 lb spinach, chopped
1-2 serranos, finely chopped
1 T salt
1 T garam masala
1 t cumin
1 t coriander
2 T red wine vinegar
1 c vegan yogurt or Coconut Milk
juice of 1 lemon
1 stick Earth Balance
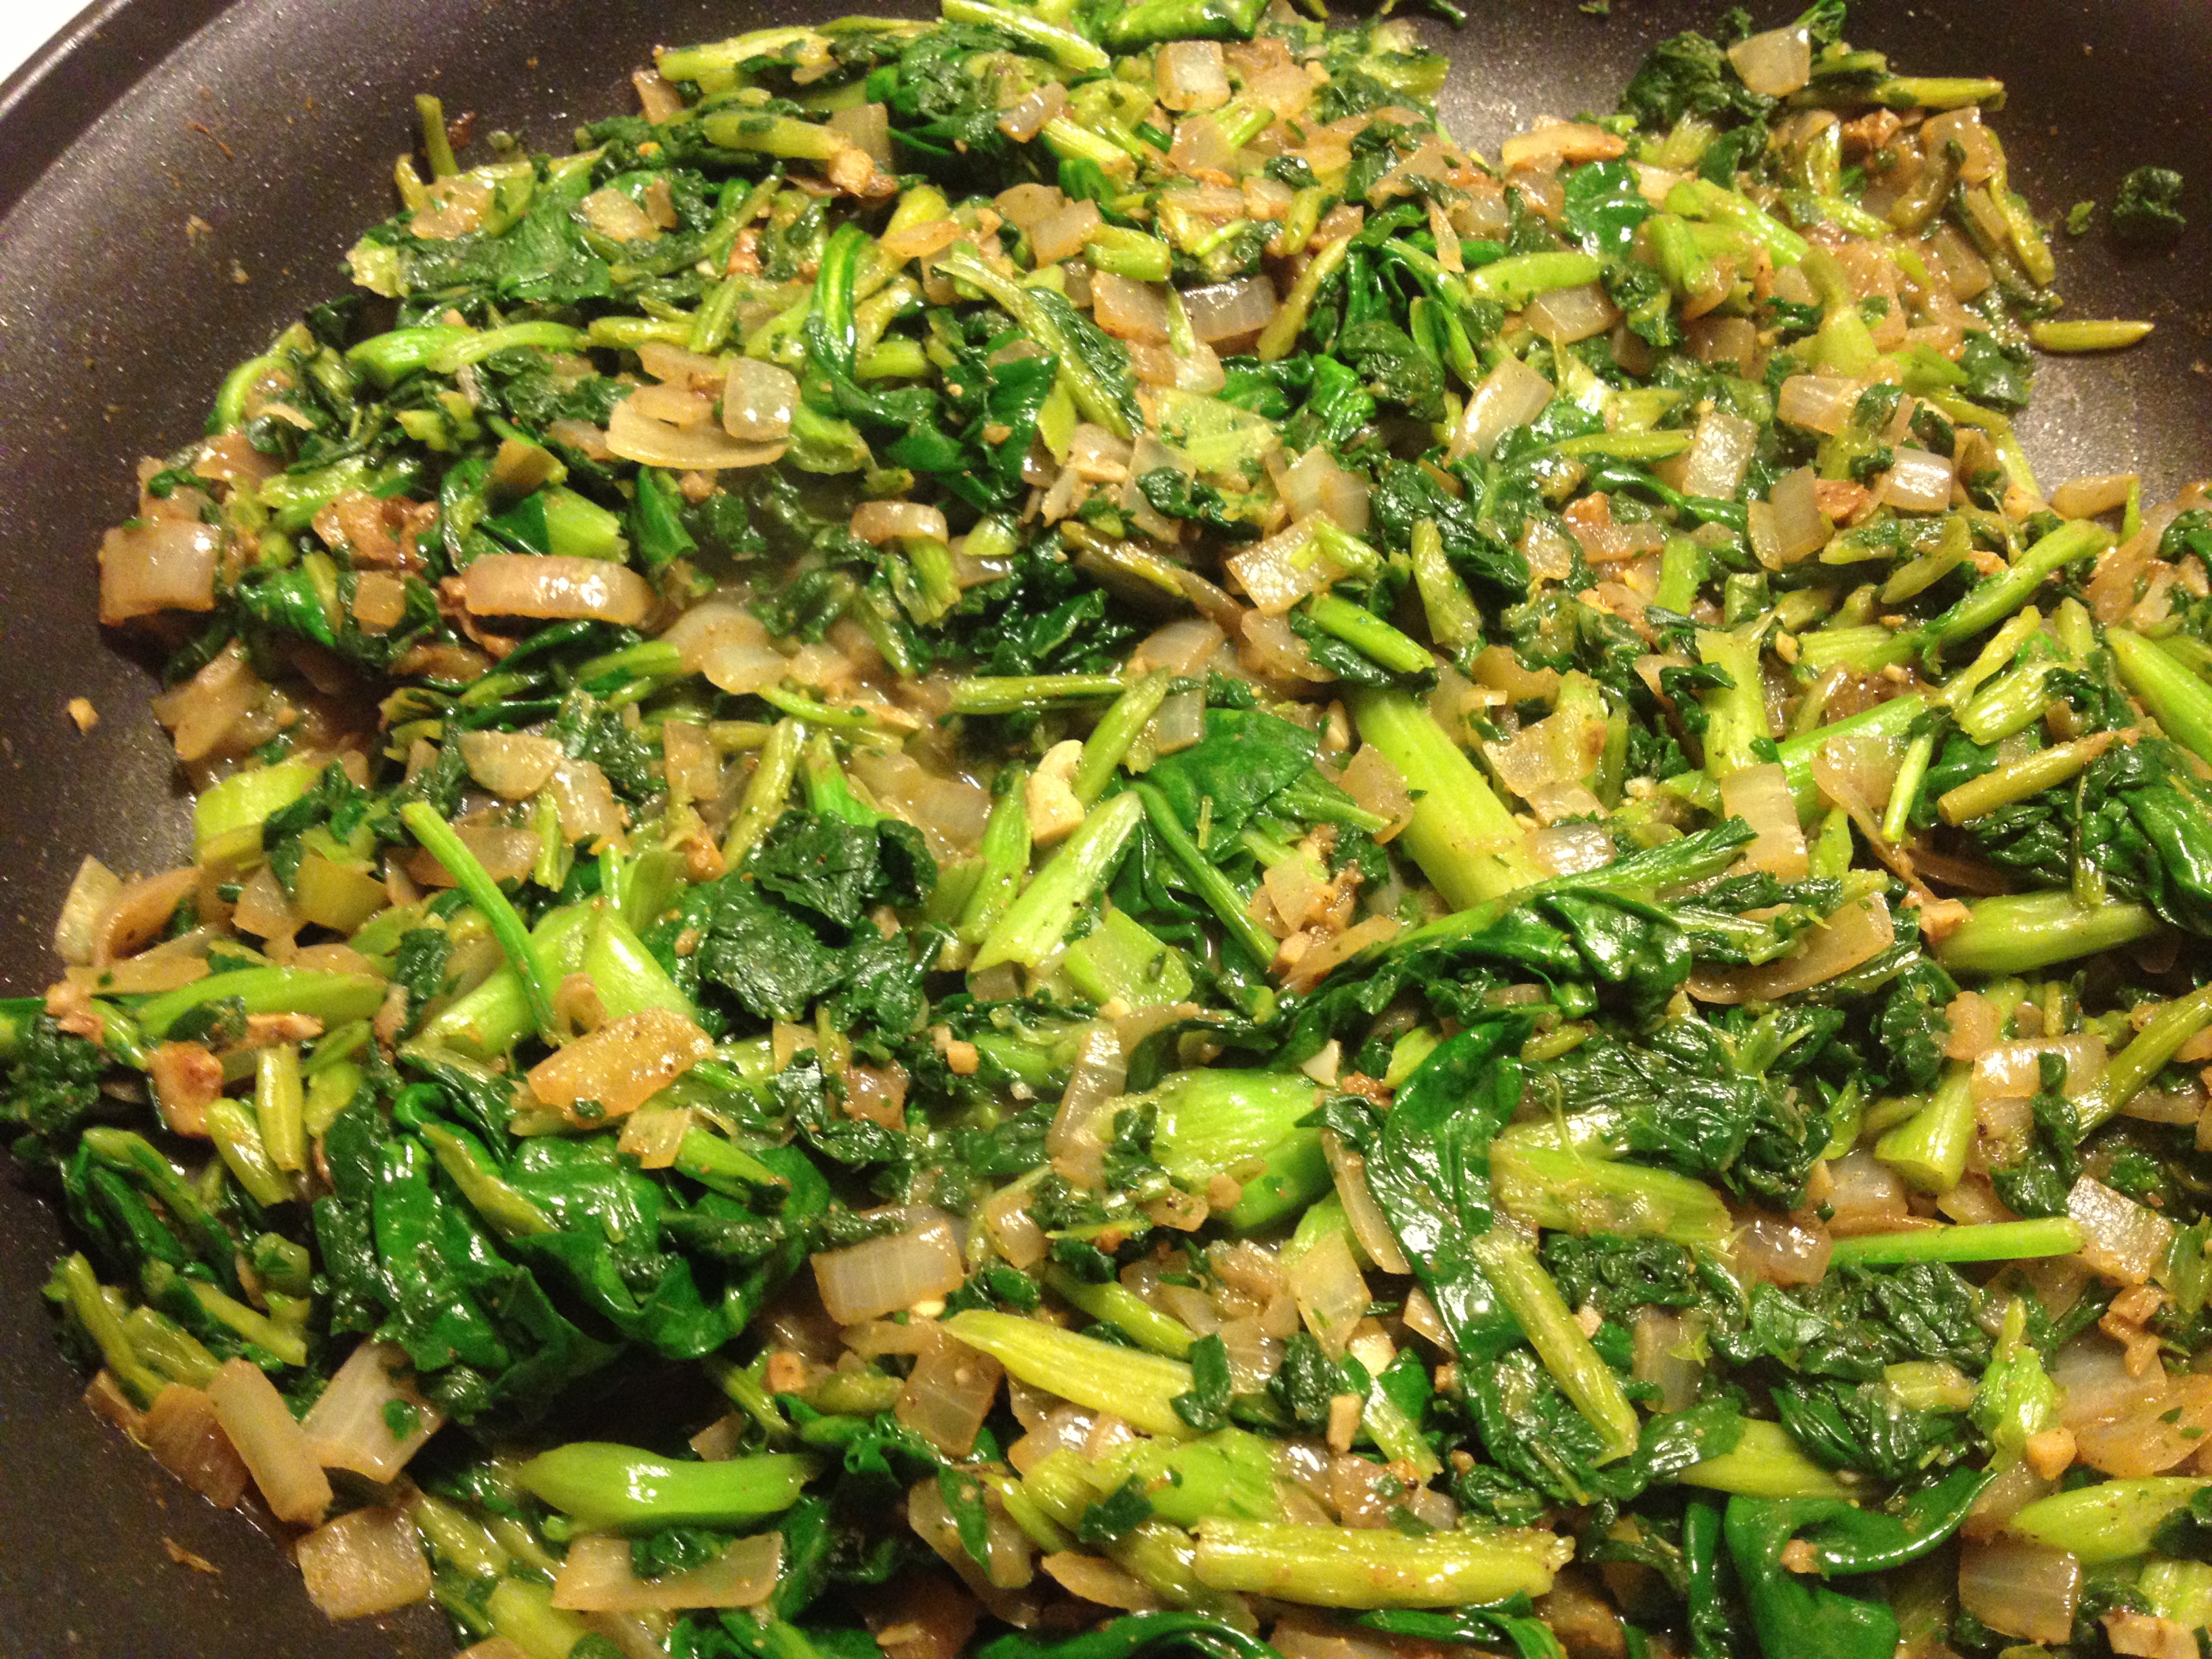
 Sauté the onion in 1 tablespoon of the Earth Balance until translucent.
Add in your peppers, garlic, ginger, and spices and let them toast for a few minutes on a low to medium-low heat.
Deglaze with the vinegar and stir in the greens and lemon. Let simmer for 20 minutes.
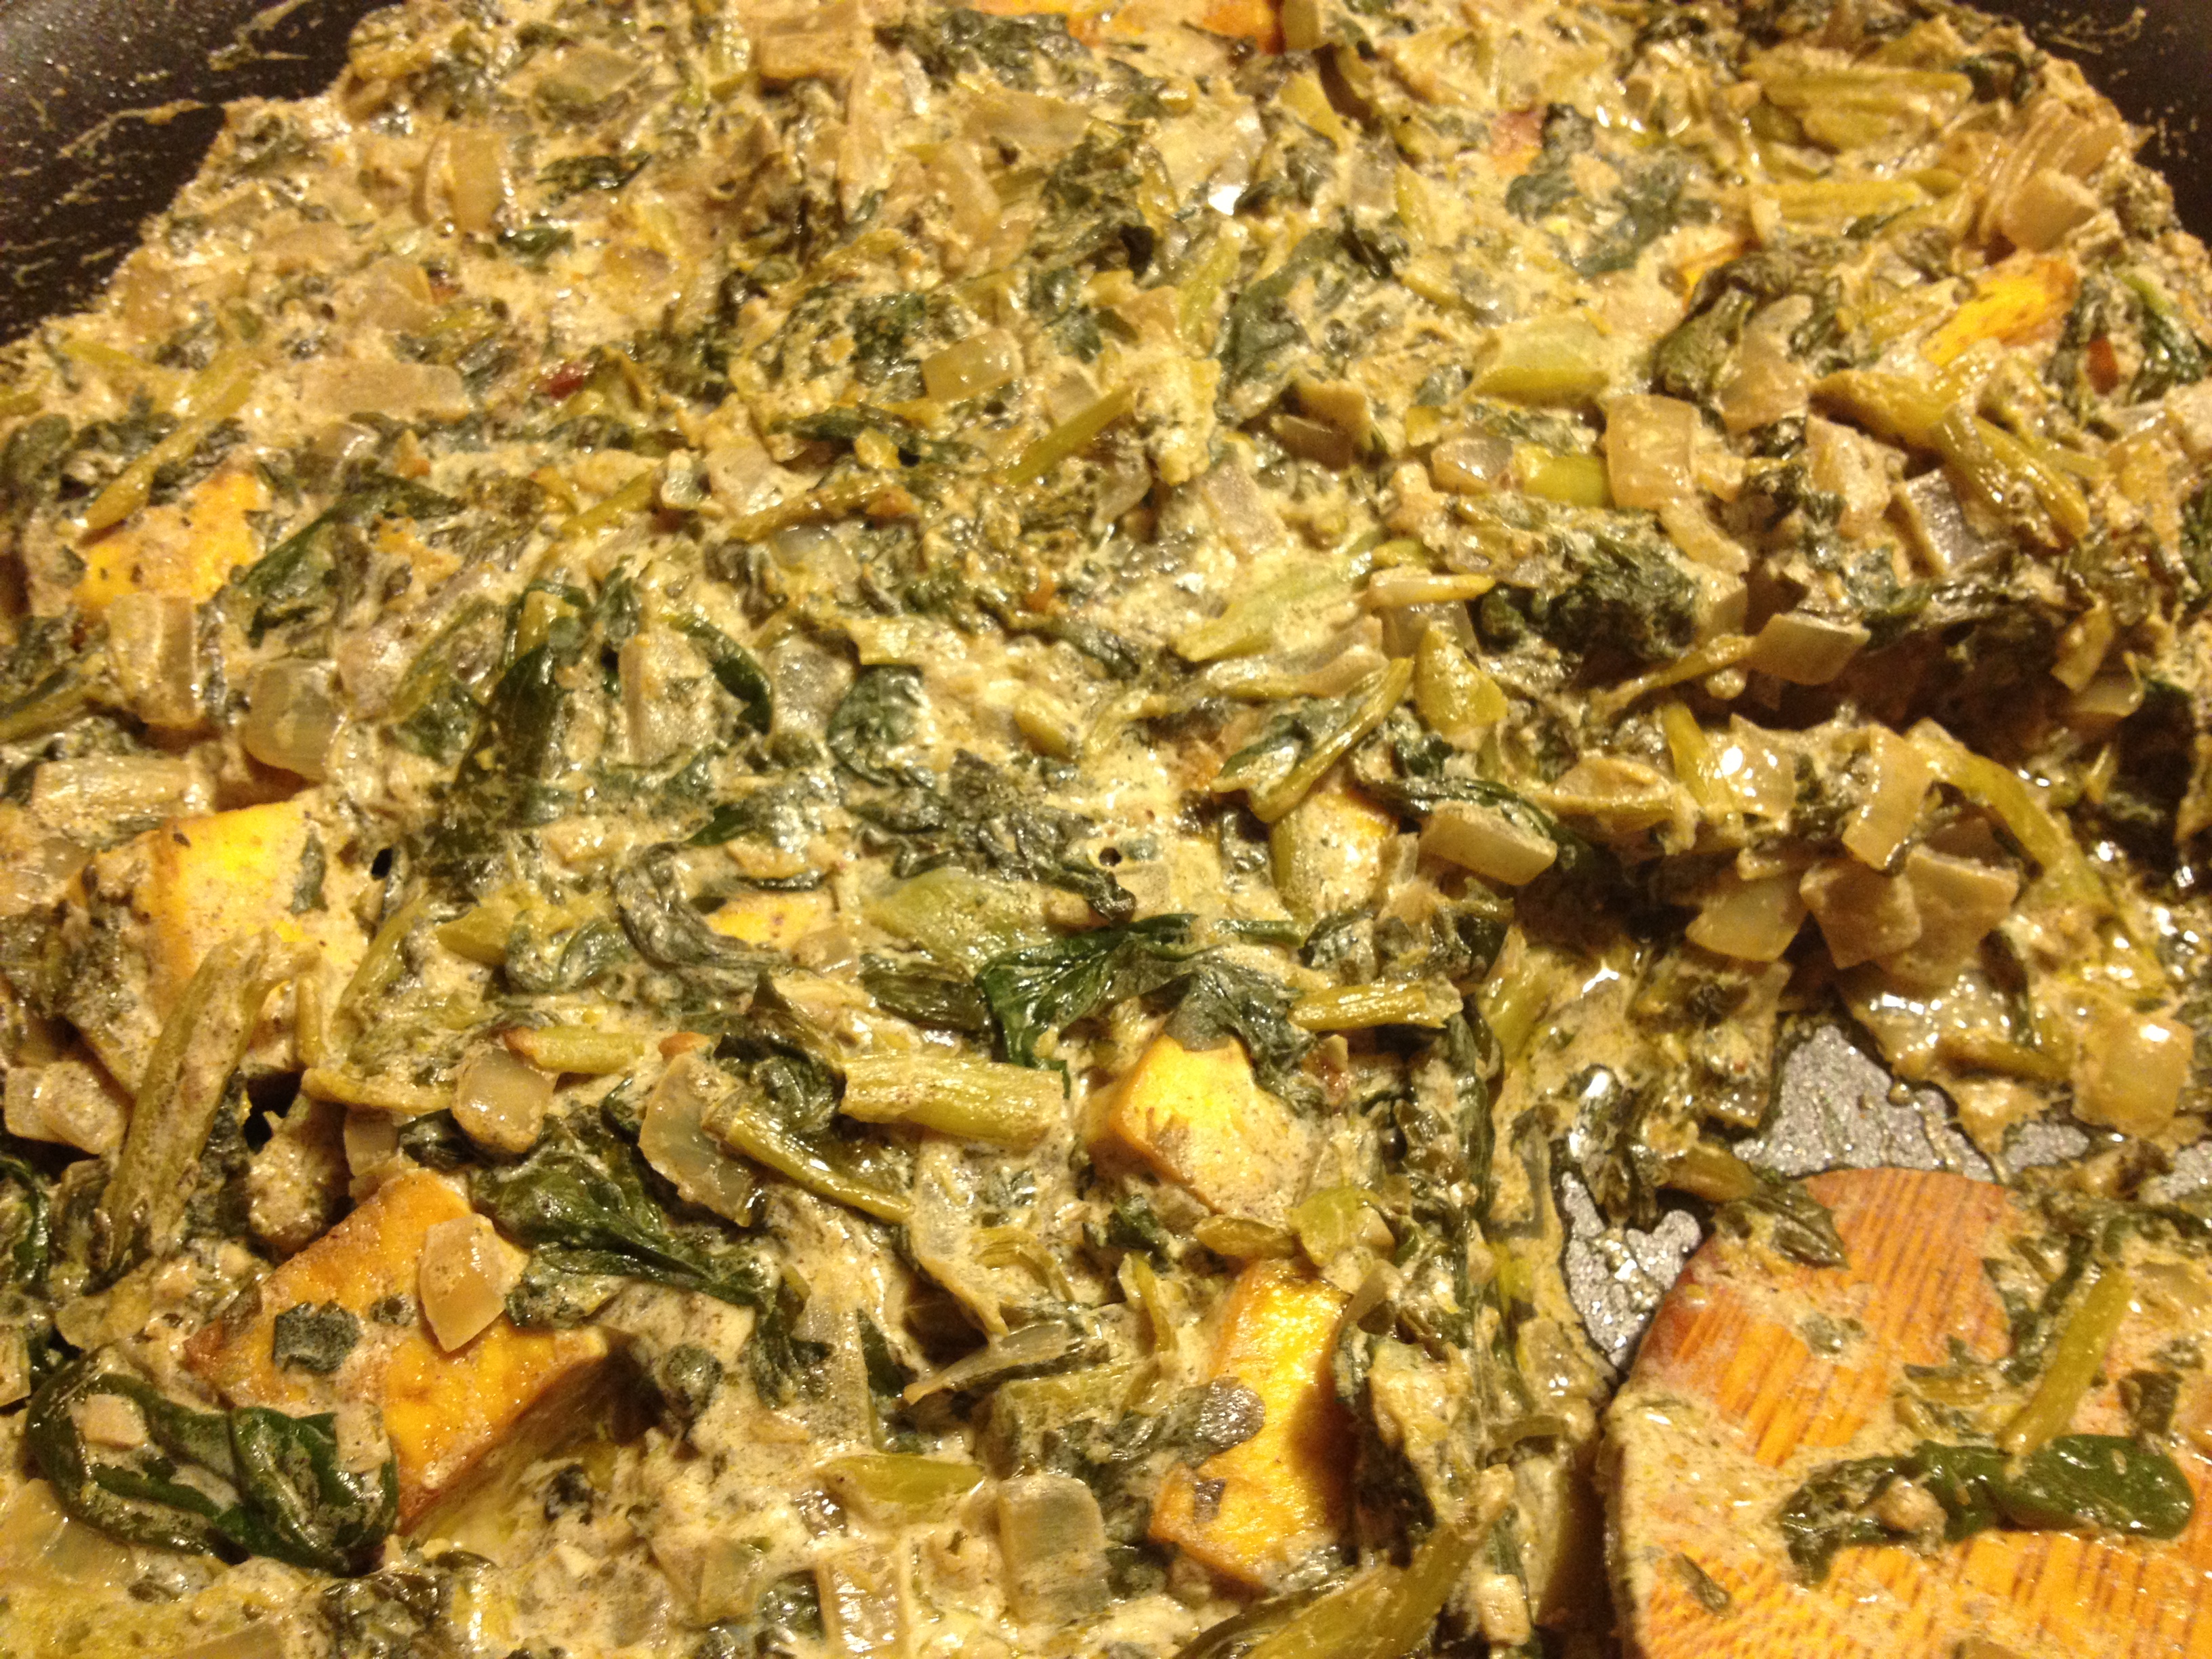
Mix in the yogurt or coconut milk and simmer for 10 more minutes.
Finally, fold in the Paneer and the rest of the Earth Balance, allowing it to melt into the spinach mix.
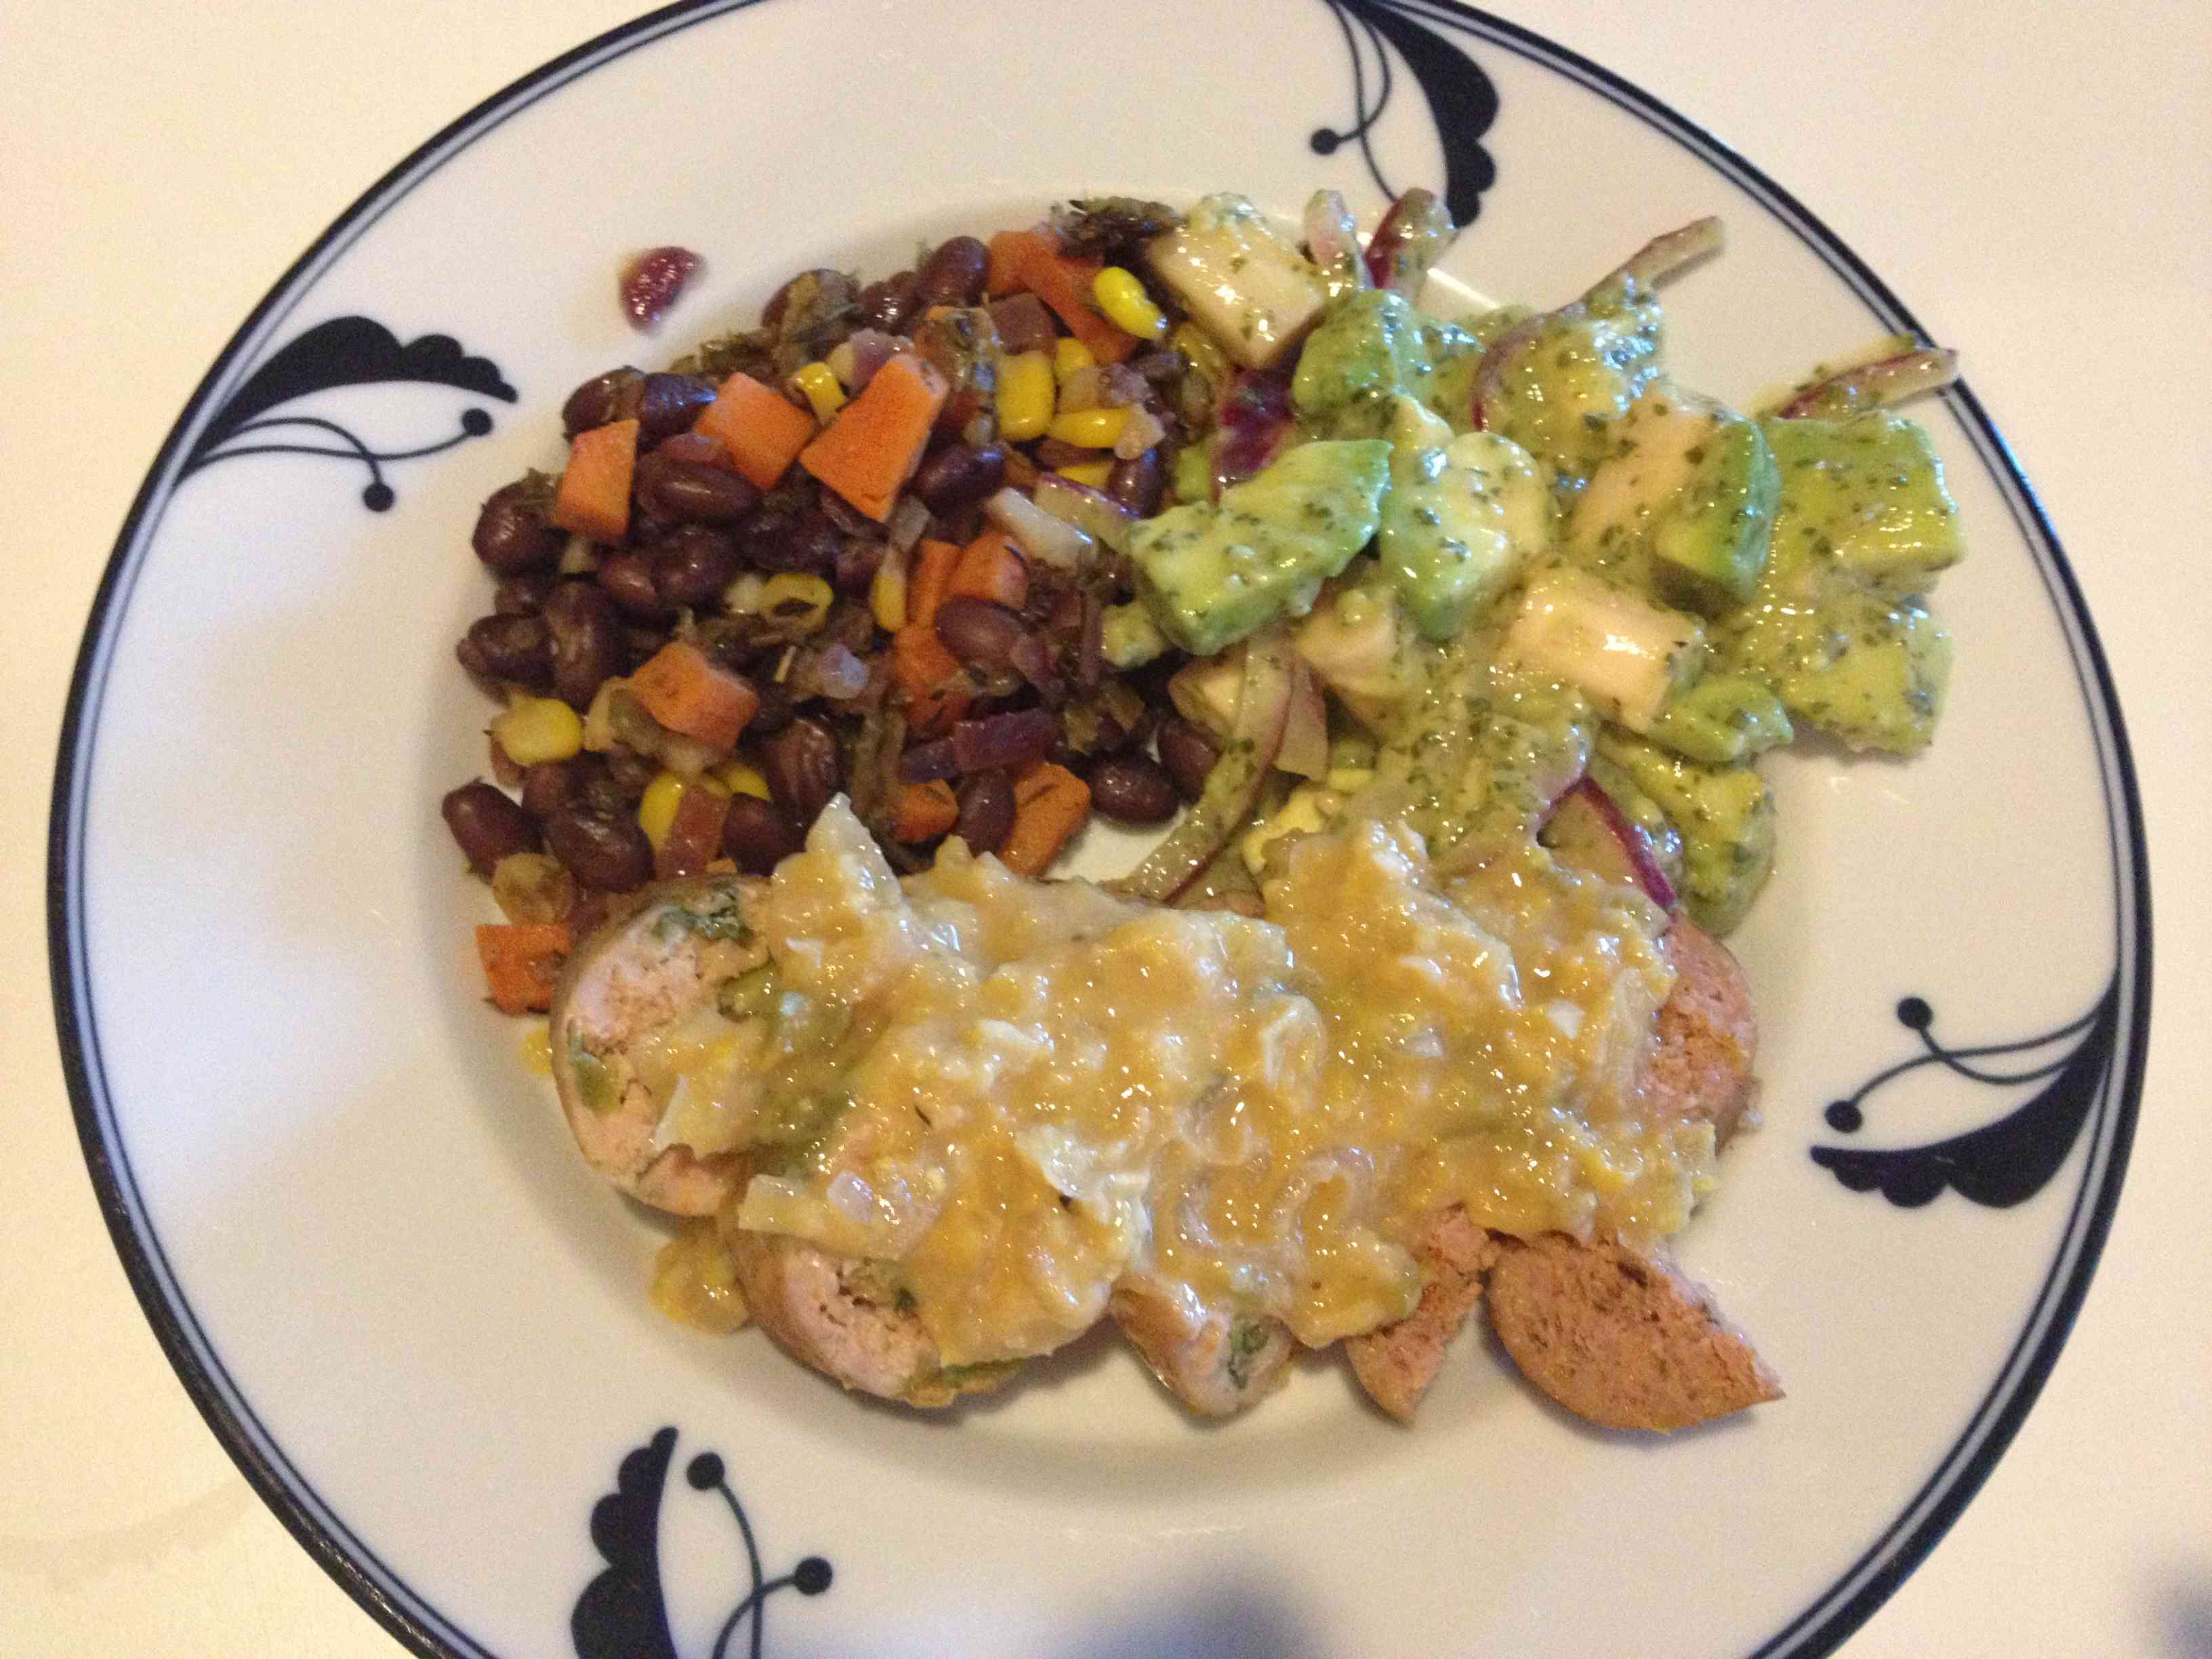
Serve over rice and top with chutney. It’s got quite a bit of heat!


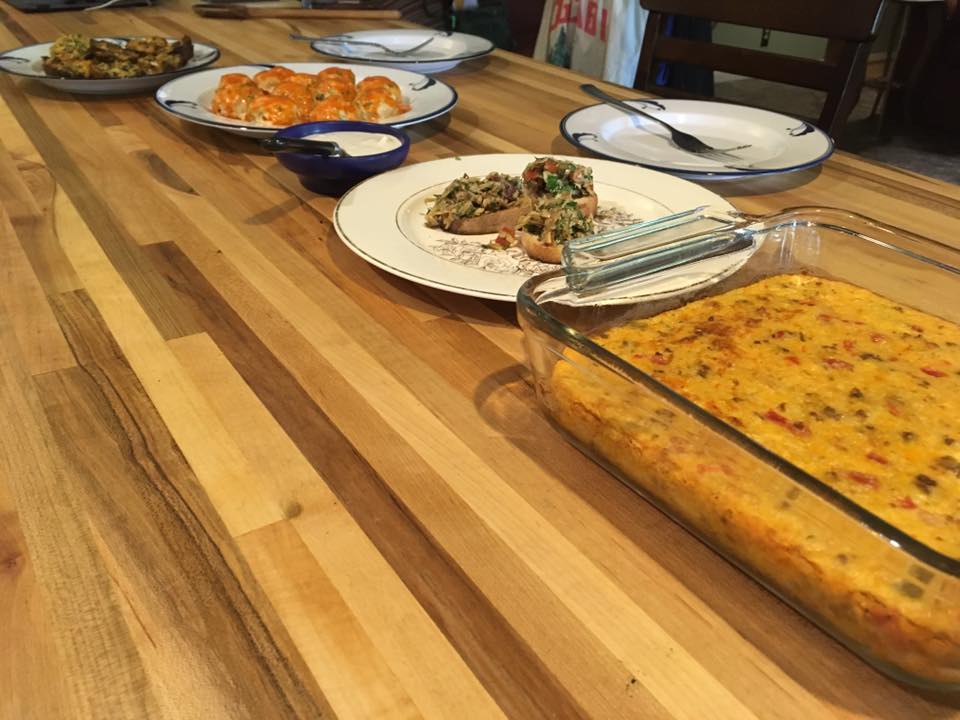
 The party season is well underway, and your social calendar is full, but what will you bring to wow the people?!
 One of the most versatile so-called “mother sauces” that tie so many dishes and sauce blends together is plain old tomato sauce.
 While we can’t do a full-on smoke, we can give you tips, teach you tricks, and help you get your sides and desserts ready for your next BBQ!


 1 head of cauliflower
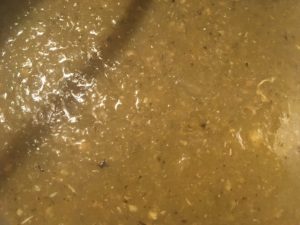 1 onion, chopped
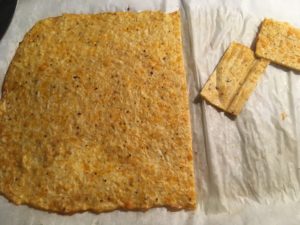
 DON’T OVER SAUCE! It’s a mistake I’ve made too many times. Just enough to lightly cover each layer. Remember, these flatbreads won’t absorb like a tortilla will.