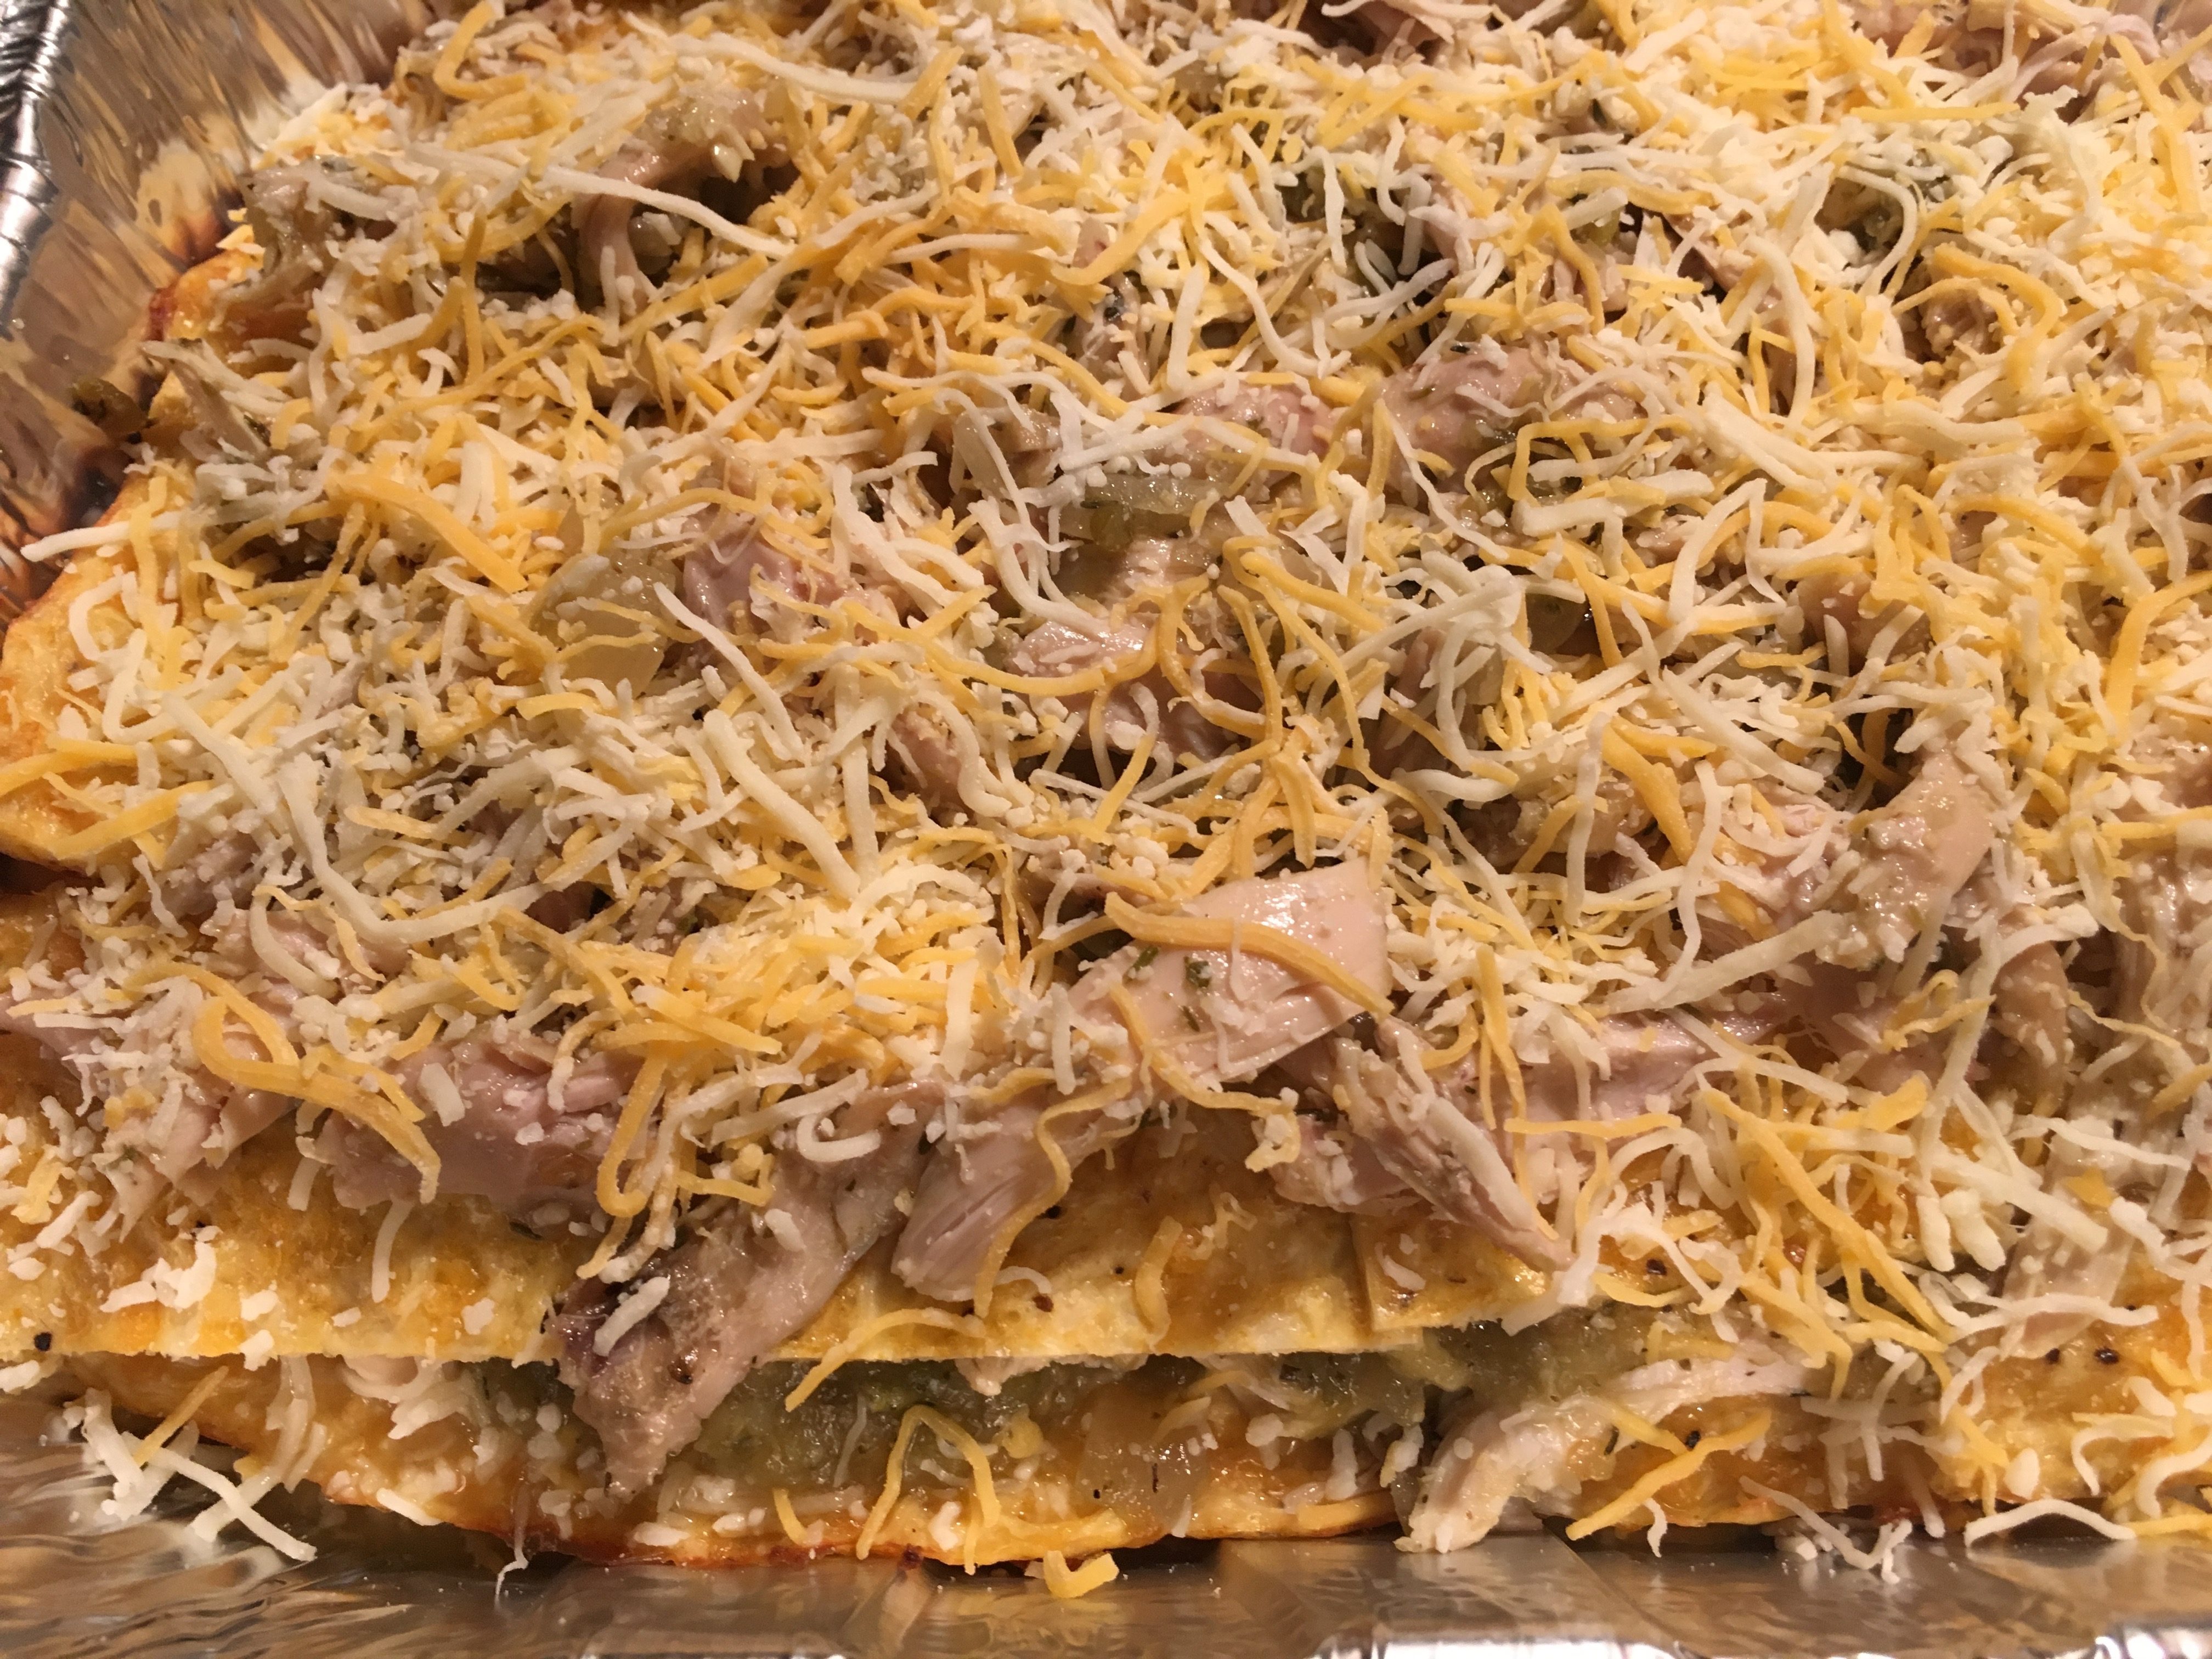
I didn’t get to take all the pics on this one that I wanted to, because this was one of those “I wonder if I can make that work” moments. And I did! In fact, I almost want to go back and try this one again with many other options, like lasagna or just about any other kind of layered casserole.
I’m back on the low-carb train, trying to get back down to my fightin’ weight, or at least fit back into that kilt I bought in Scotland back in college. I lost 20 lbs the first time I did this, so we’ll see how well I do this time.
One thing I definitely miss is tex mex when I’m on this diet, so I had this idea for a while and finally decided to try it out at one of my weekend shindigs. Instead of using tortillas, I made 3 thin versions of my Cauliflower pizza crust, and layered them together. It was AMAZING!!
Cauliflower Pizza Crust
 1 head of cauliflower
- 2oz cream cheese
- 2 eggs
- handful of grated cheese (about 1/2-3/4 cup)
- Salt and pepper
- Paprika
- Parchment Paper
- Pre-heat oven to 375.
- Shred/rice the cauliflower in your food processor (or just go buy the bagged stuff at the store, but it won’t keep as long).
- Put it in a bowl and toss it in the microwave for around 4-5 minutes.
- Throw all of that in a kitchen linen, and give it a squeeze to get all of the water out.
- While you’re doing that, Cut the cream cheese into pieces and throw it in the hot bowl the cauliflower was in, so it’ll start getting soft.
- Add the squeezed-out cauliflower rice, eggs, cheese, and seasoning. Paprika helps with the color as well as a bit of flavor. Mix well.
- Spread out on parchment-lined baking sheets and bake for 25 minutes at 375. Voila!
NOTE: This recipe makes roughly 2 pizza crusts that are of decent thickness and can be picked up like a piece of pizza when topped. For this project, spread the “batter” a bit thinner, and you’ll get 3-4, which will be perfect for your needs here.
Green Chile Sauce
 1 onion, chopped
- 6-8 cloves garlic, minced
- 1 bin of Bueno Frozen Green Chile, or a fair amount of roasted Hatch chiles, seeded and chopped
- 1T Oregano
- 2t Thyme
- Red wine vinegar
- 1T Arrowroot or cornstarch, stirred into a bit of water
- 1 cup stock or water
- Salt and pepper
- Saute the onion first, until translucent.
- Add garlic, chiles, and herbs. After a minute or two, deglaze with the vinegar.
- Add stock and simmer for a bit. Set aside ~a cup of the veggies to use as enchilada filling.
- Blend using a processor, blender, or immersion blender until it’s nice and smooth. Return to heat.
- Stir in your thickener and allow to thicken up a bit. Season to taste.
Green Chile Chicken Enchiladas!
Here we go!
- 3-4 Cauliflower pizza crusts
- 1 recipe Green Chile Sauce
- 1 Rotisserie Chicken
- Cheese
- Pre-heat oven to 375.
- Cut pizza crusts into large/medium pieces, so they’re easier to work with.
- Dismantle and shred the chicken.
- Toss chicken in a pan with a bit of the Green Chile Sauce, as well as the cup of sauce veggies you set aside. Let it heat through and gain some flavor.
- Ladle a bit of sauce on the bottom of a 8×13 or 9/13 Pyrex. Spread it around to cover.
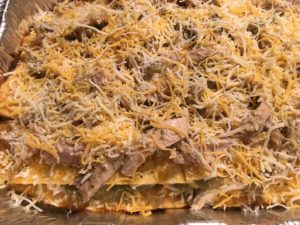
- Layer away! Start with the cauliflower “tortillas”, then cheese, chicken mix, and a bit of sauce. Repeat until you have one layer of cauliflower on top, then you just top with sauce and cheese.
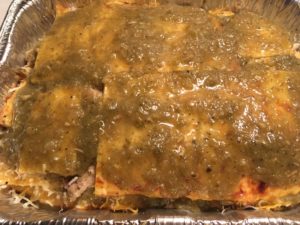 DON’T OVER SAUCE! It’s a mistake I’ve made too many times. Just enough to lightly cover each layer. Remember, these flatbreads won’t absorb like a tortilla will.
- Toss in the oven at 375 and bake around 30 minutes.
- Remove from oven and let it cool. This is important. There will be some watery sauce at the bottom, but it’ll thicken up as it cools.
Honestly, for best results, make this a day ahead. The flavors get more chance to meld that way.
Cut some slices and serve! You can top with more green chile and/or a bit of crema!
Heck, when you’re tired of the leftovers, cut it in smaller pieces, fry it up in a skillet, and make Chiliquiles with an egg over the top!

Enjoy!
